How to Draw a Tie Step by Step
This tutorial shows how to draw a tie in six steps. It includes simple and easy to follow example and drawing instructions.

You can see a preview of the drawing steps for the tie in the picture above. In this case it will have a fairly common look with a basic stripe pattern.
It’s recommended that you start the drawing in pencil and make light lines that you can easily erase in case you make a mistake. You can darken them with a black pen/marker before coloring.
Step 1 – Draw a Shirt Collar the Tie Will Go Around
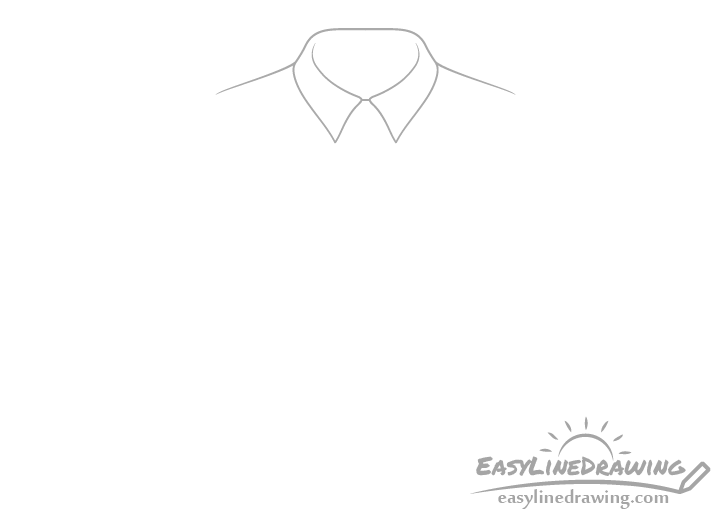
Begin by drawing a shirt collar that the tie will go around as shown in the example.
If you want a more detailed step by step breakdown of drawing it see:
How to Draw a Shirt Step by Step
If you would like to draw a suite (jacket) also see the following:
How to Draw a Suit Step by Step
Step 2 – Draw the Knot
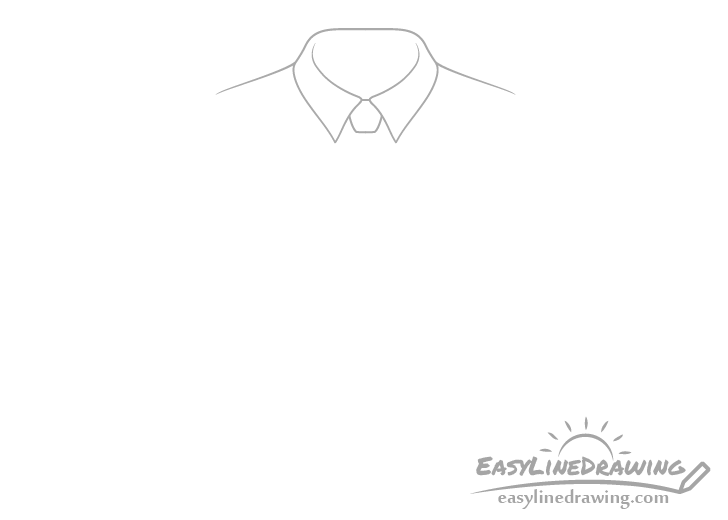
Coming out from the bottom/middle of the collar add the knot of the tie. Make it slightly narrower as it goes down. Also try and draw all of it’s sides with a bit of a curve to them.
Step 3 – Draw the Sides
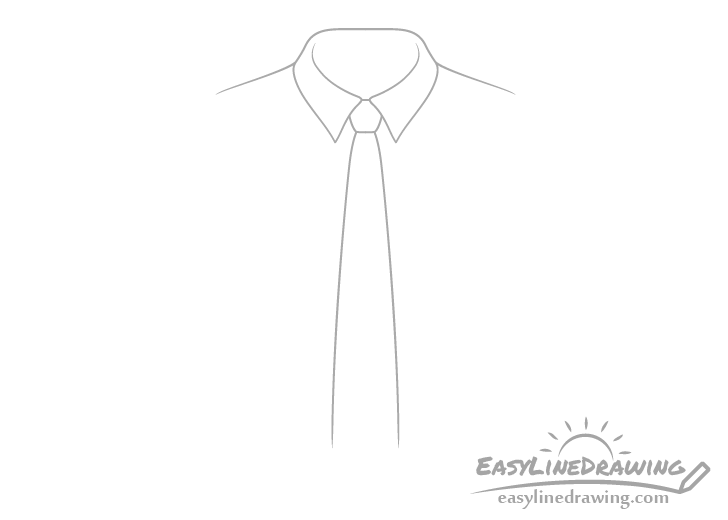
Going down from the knot add the two sides of the tie. Draw each of these with more of a curve at their base and smoother longer curves towards the bottom. Also draw the two lines coming apart as they go down so that the overall width of the tie increases. Just be careful not to overdo it as you don’t want it to et too wide.
Step 4 – Draw the Tip
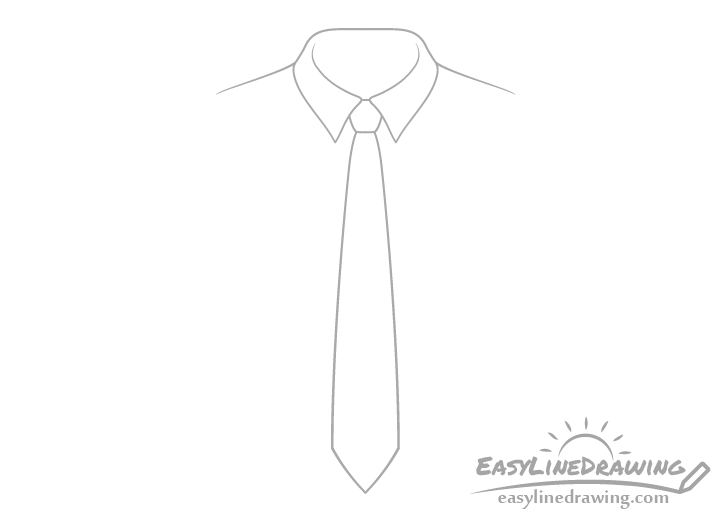
Finally join the two lines from the previous with yet another pair of slightly curved lines at the bottom to get the tip of the tie.
Step 5 – Draw the Stripes & Finish the Line Drawing
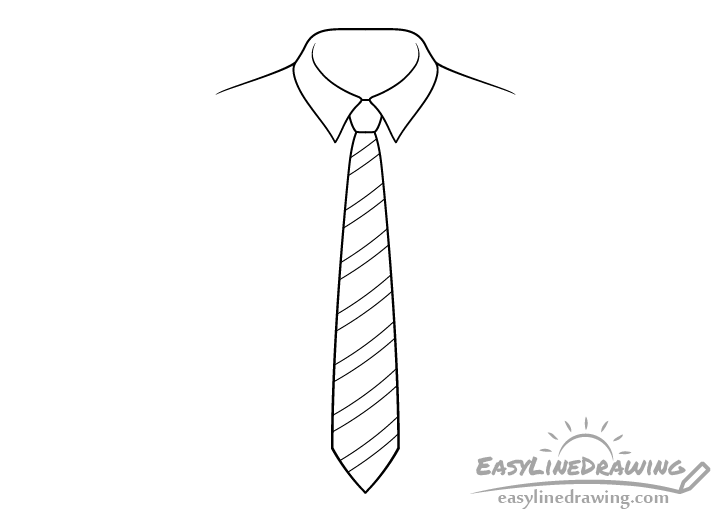
With the main outline finished you can give the the tie a bit of a design by adding some stripes. Make these lightly curved and try and space them out evenly thought out it’s length.
After you draw the stripes you can trace over your drawing with a black pen or maker. If you prefer you can also simply darken your lines with the pencil.
Step 6 – Color the Tie
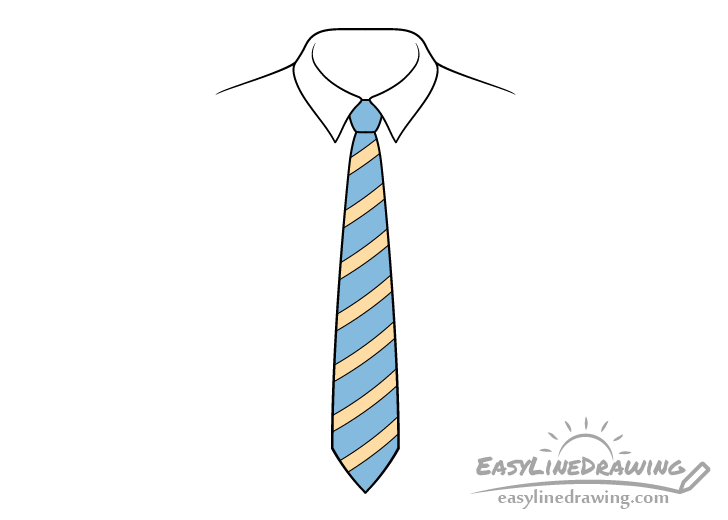
In this case the tie will be blue with some light orange/brown stripes. You can of course use a different color combination if you prefer.
If you want brighter colors makers may be a good coloring option. If you want lighter colors you can use colored pencils.
Conclusion
This tutorial shows how to draw a fairly common looking tie with a simple stripe pattern. If you want to draw a dress shirt to go with it don’t forget to check the tutorial for drawing one linked at the start of this one.
For other similar tutorials also see:
- How to Draw a Baseball Cap Step by Step
- How to Draw Glasses Step by Step
- How to Draw a Pair of Socks Step by Step
- How to Draw a Towel or Cloth Step by Step
- How to Draw a Shoe Step by Step
- How to Draw a Jacket Step by Step


")


