How to Draw a Rocket Step by Step
This tutorial shows how to draw a rocket in eight steps. It provides simple examples with easy to follow instructions.
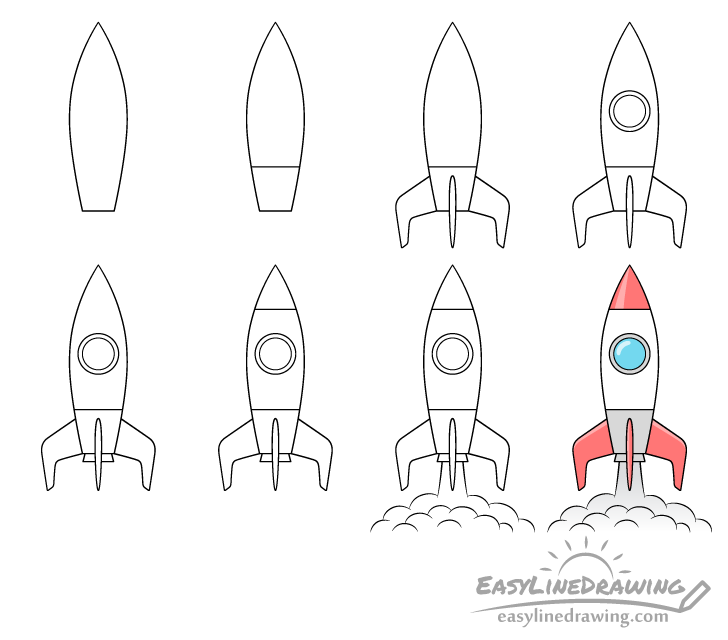
The example is a space rocket with smoke coming out of it’s exhaust to show that it’s taking off. The drawing is done in a simplified style similar to a cartoon or a comic book. The guide illustrates an easy way to draw the rocket by adding it’s various parts in different steps.
Start the tutorial in pencil as you will need to erase a little bit of the drawing when adding one of the rocket’s fins. Also, keep your lines light so that they don’t leave marks when erased. You can darken them by tracing over your drawing once you have all parts of the rocket outlined.
Step 1 – Draw the Shape of the Rocket
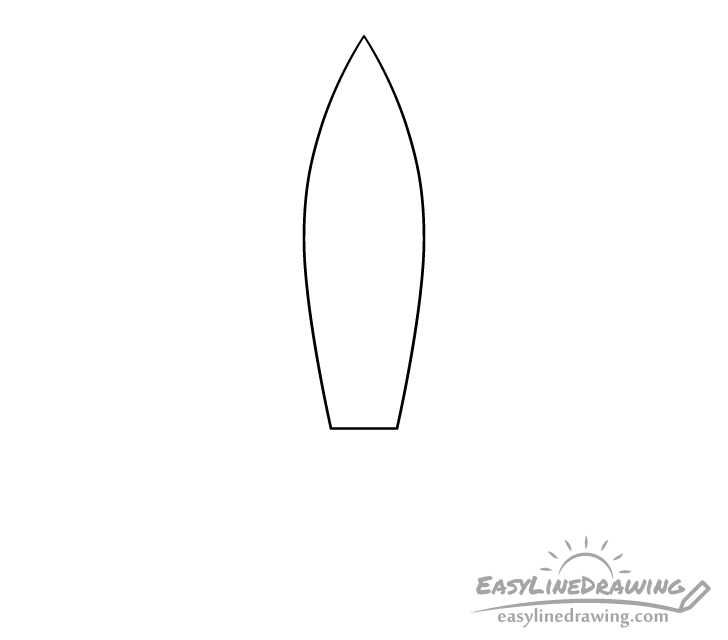
Draw the rocket’s main body starting with it’s sides. Define these as symmetrical curves running that both starts from where you wish to have the rocket’s upper tip. Draw them running all the way down to the bottom of it’s body and join them there with a straight line.
You want the rocket to have a pointy upper tip and a flat bottom.
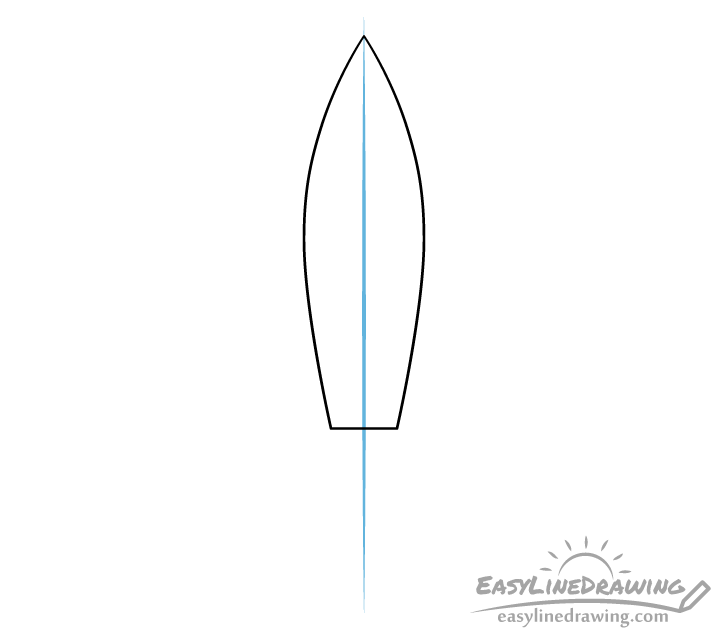
You can optionally draw a straight vertical line to act as a guide that can help you see if the rocket drawing is skewed or bent to one side and that both of it’s halves are even in width. If choose to draw the guide line you can keep it until you’ve added all parts of the rocket.
Step 2 – Draw the Bottom Section
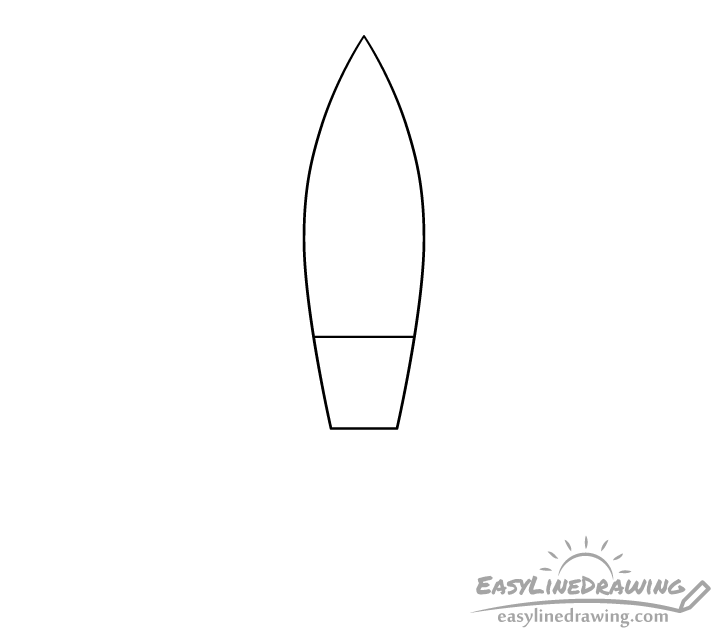
For this very easy step draw a line to define the rocket’s bottom section that it’s fins are attached to (added in the next step).
Step 3 – Draw the Fins
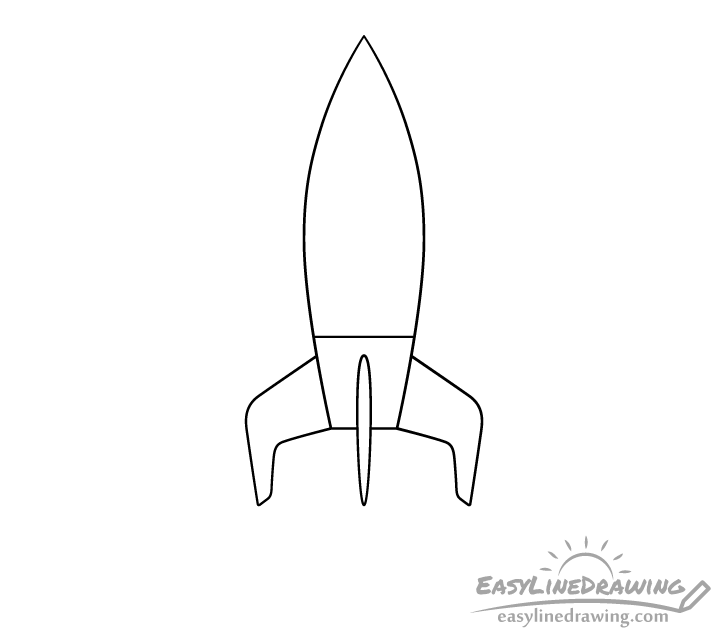
Slightly below the line from the previous step draw the rocket’s fins. In this example there are three of them. Position two on the sides and one in the middle. As mentioned at the star of the tutorial you can erase a bit of the outline from step one when adding the middle fin.
Similar to the rocket’s body try and make the fin’s on the sides symmetrical (mirroring each other’s shapes).
Step 4 – Draw the Window
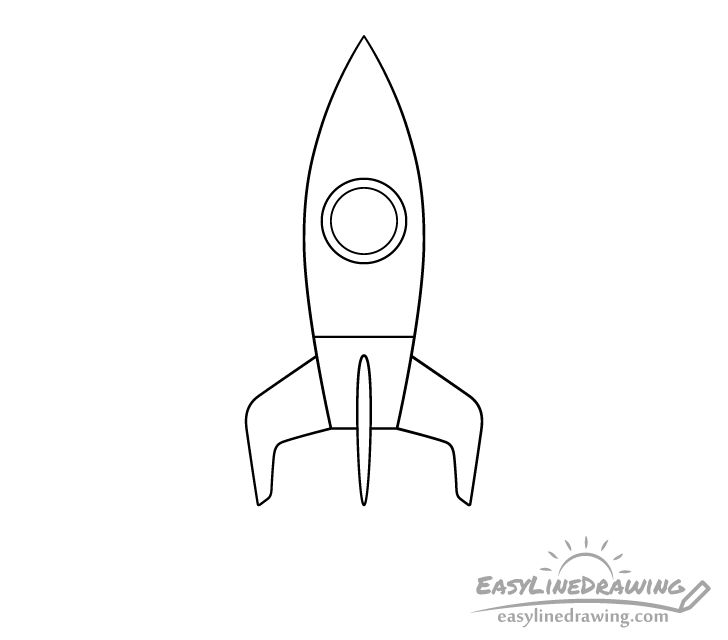
Towards the upper part of the rocket add the window of the cockpit. Draw this as a pair of circles with a smaller one inside a larger one. The smaller circle will define the glass and the larger one the metallic frame around it.
Step 5 – Draw the Exhaust
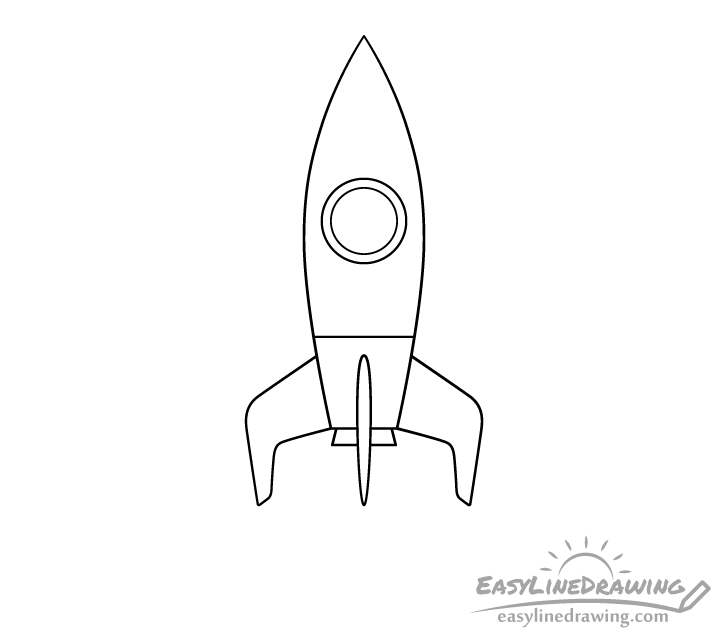
At the very bottom of the rocket draw the exhaust. Make it wider as it goes down.
Step 6 – Draw the Tip
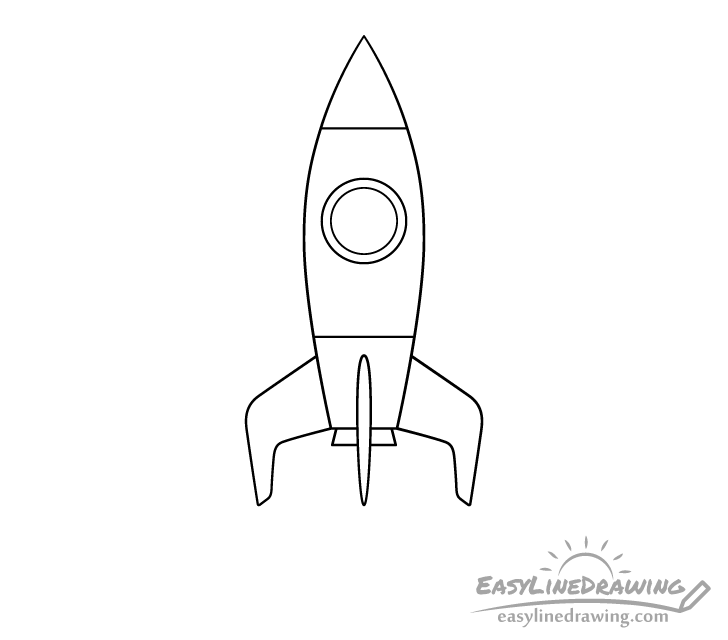
For yet another very simple step define the rockets tip. Similar to it’s bottom you can do this by drawing a straight line near the top of it’s body (a little bit above the window).
Step 7 – Draw the Smoke
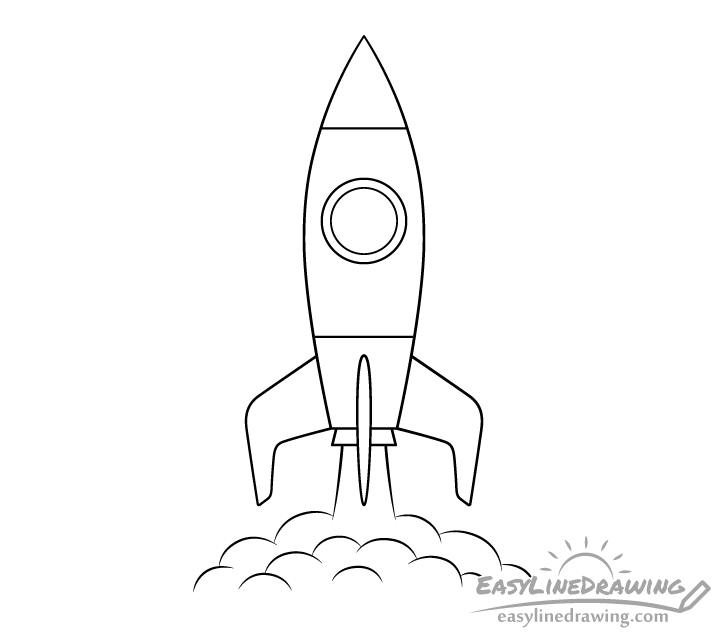
To show that the rocket is taking off draw smote coming out of it’s exhaust. First define the smoke as a downwards stream and then draw it dissipating into more a cloud to show that it’s hitting the ground. You can define the stream with a pair of lightly curved lines (make it wider as it goes down). Define the various smoke puffs as groups curves of various size. First, outline the cloud’s overall shape and then draw some more puffs inside this outline to give the smoke a more three dimensional appearance.
Drawing the smoke in the way shown/described above will make it look like the rocket is taking off from the ground even if you don’t show the ground itself.
After adding the smoke you can trace over your drawing with darker lines. You can either use a black pen or a thin black marker or just darken them with the pencil. Just be sure that you are happy with how things look before doing so.
Once done with the above you should have a finished line drawing of the rocket that you can then color.
Step 8 – Color the Rocket

You can make the rocket any combination of colors that you like. In this example it’s red, white, blue and grey.
To make the rocket look shiny show a few reflections along it’s tip, fins and window (as in the example above). These will show light reflecting from it’s smooth surface. At first leave the reflections white (lightly outlined them before coloring if needed). Next, go over the white with a much lighter red/blue so that the reflections don’t look too bright.
To make your as in the example you can distribute the colors as follows:
- Tip – red (with a lighter reflection along one side)
- Middle of main body – white
- Widow – blue (with a curved lighter reflection along the upper end of one of it’s sides)
- Window frame – grey
- Lower section of main body – grey
- Fins – red (with a lighter reflection along the tops of the side fins and one side of the middle fin)
- Smoke – grey (getting lighter as it goes down)
When applying the grey to the smoke you can do so as a gradient that gets lighter as it goes down until it blends into the white of the paper. This will help the smoke appear more like actual vapour.
Conclusion
This guide shows an easy way to draw a space rocket. By giving the rocket a stylized but characteristic shape (like the one shown in the example) you can make it easily recognizable. Also, by drawing smoke in the way described in this guide you can show that the rocket has just taken off from the ground. Finally, by applying color in the way explained in the last step you can help convey the rocket’s texture.
Making simple drawing like the one in this guide is a great way to practice as a beginner. It can also just be a fun way to pass some time.
For more similar tutorial also see the following:
- How to Draw a Fighter Jet Step by Step
- How to Draw an Airplane Step by Step
- How to Draw A Boat Step by Step
- How to Draw a Cartoon Car in 12 Steps
- How to Draw a Light Bulb Step by Step
- How to Draw a Mobile Phone Step by Step
- How to Draw a Bike Step by Step


