How to Draw a Spoon in 6 Easy Steps
This tutorial shows an easy way to draw a spoon providing a series of really very simple illustrations and quick step by step instructions.
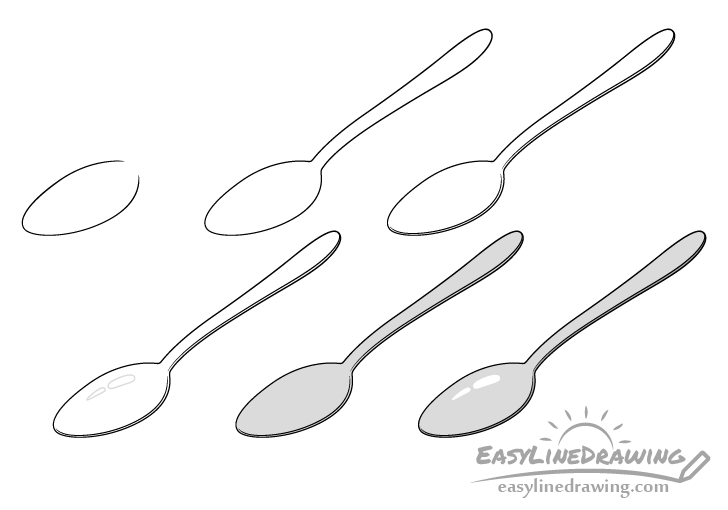
In this example the spoon is draw from 3/4 view which is a good choice for showing it’s shape. The tutorial goes from a simple line drawing to adding some basic color/shading. You can see a preview of the steps in the image above.
Start the drawing in pencil and make light lines that are easy to erase in case you make a mistake. You can darken them later on with a black pen or marker.
For drawing a fork see:
How to Draw a Fork Step by Step
Step 1 – Draw the Spoon’s Bowl (Part that Scoops Things)
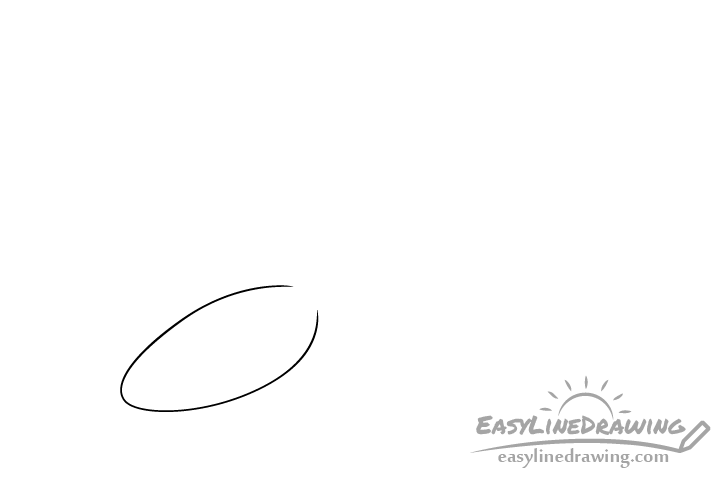
First draw the head of the spoon. Make it slightly more pointy towards the tip and more rounded towards the neck (added in next step). Once done with this step it’s overall shape should look a bit like a flattened egg where one end of it’s outline is left open.
Step 2 – Draw the Handle
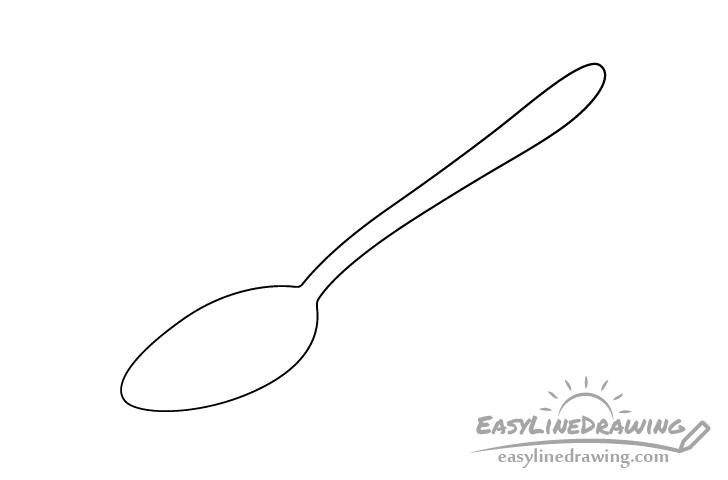
Going up form the bowl add the neck (with a bit of a curve to it’s shape). This should gradually get wider and transition into the handle which then curves in the opposite direction.
Towards it’s end the handle should again get slightly narrower (with a rounded tip on the very end).
Step 3 – Draw the Edge
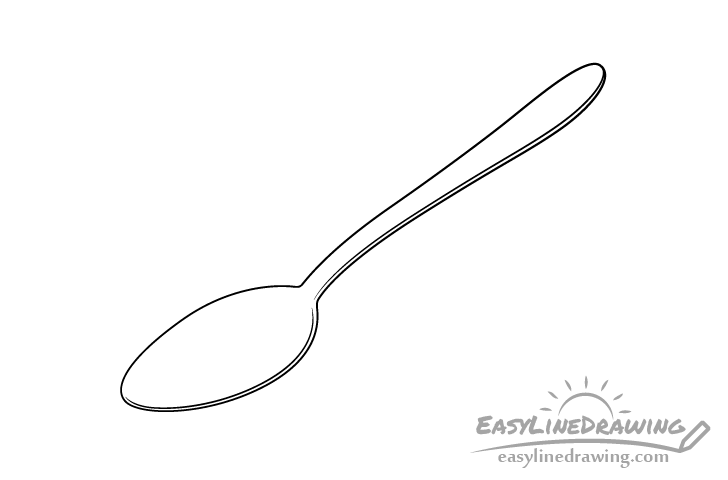
To make the spoon appear a bit more three dimensional add an edge along it’s forward facing side (towards the viewer). This will help show the the thickness of the material it’s made from.
For the most part the edge should pretty much follow the shape of the spoon’s outline with a bit of distance between the two.
Once done with this step you can darken your lines if you feel the drawing looks good (or make any required corrections before doing so).
Step 4 – Outline the Reflections/Highlights
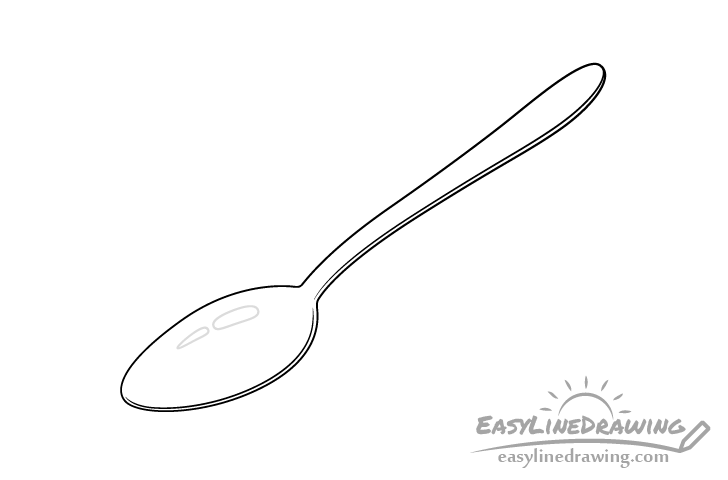
Spoons generally have shiny and reflective surfaces. To help show this you can outline a pair of reflections (highlights) along the bowl’s surface as shown in the example above.
Do so very lightly so that the lines that define them will easily blend into the color/shading (in the next step).
Step 5 – Add Color
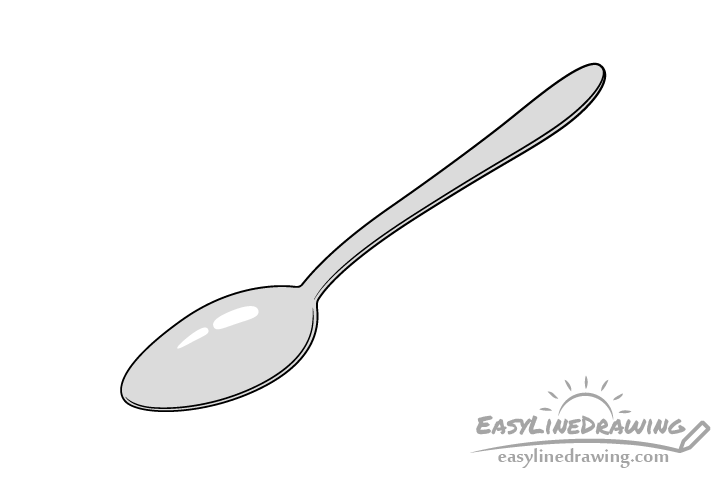
To color the spoon simply make it a light grey (for a metallic look). Leave the highlights outlined in the previous step white.
Step 6 – Add Shading & Finish the Spoon Drawing
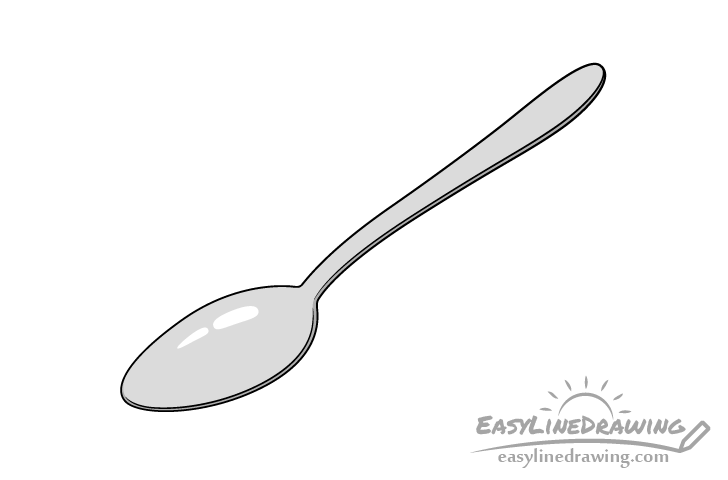
In this case the shading will be very simplistic. The light will be coming from somewhere above. To show this make the lower part of the spoon (below the edge) a slightly darker grey than the rest of it. If using a regular pencil you can do this by giving that by going over the area with another layer of (slightly darker) grey.
Once done with the above you should have a finished drawing.
Conclusion
This tutorial shows a very easy way to draw a simple spoon. By picking a good view to draw from (3/4 in this case), having clear lines and applying some basic color/shading you can get a nice looking drawing that is not too difficult to create.
If you like this simple guide be sure to check out the other tutorials here on EasyLineDrawing.
For more step by step examples of food related items see:
- How to Draw a Bowl of Soup Step by Step
- How to Draw a Knife Step by Step
- How to Draw a Cracker Step by Step
- How to Draw a Can of Pop Step by Step
- How to Draw Scissors Step by Step


