How to Drawn an Envelope Step by Step
This quick and really simple tutorial shows how to draw an envelope in just four steps. It includes illustrated drawing examples along with short explanations for each of them.
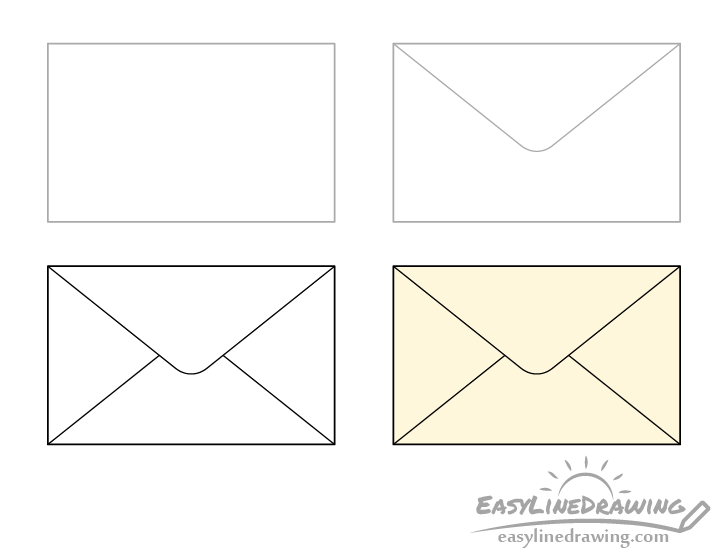
You can see the preview of the drawing steps for the envelope above.
Start the tutorial in pencil and make light lines that you can easily in case you need to make a correction. You can darken them later on with a black pen or marker. As the envelope consists of so many straight lines you may also want to use a ruler to help you draw them.
For drawing a postage stamp see:
How to Draw a Stamp Step by Step
Step 1 – Draw an Outline of the Envelope
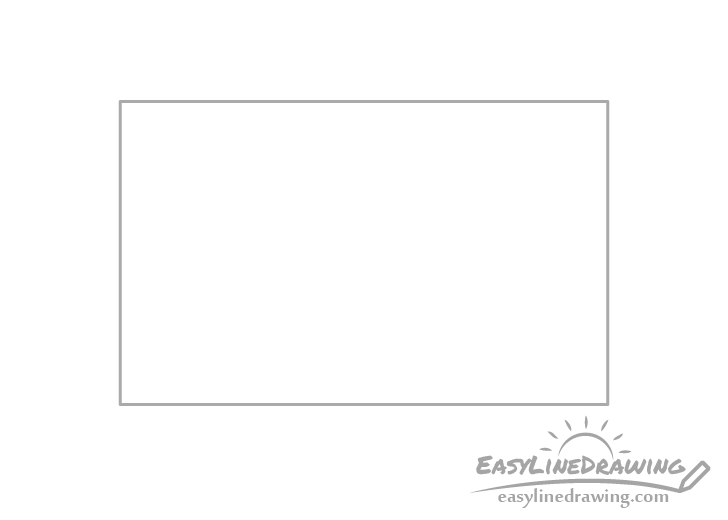
Begin with an outline of the envelope’s shape. Generally this will just be a rectangle similar to the example. Try and make sure that the horizontal and vertical lines are parallel to one another so that the drawing doesn’t turn out crooked.
Step 2 – Draw the Top Flap
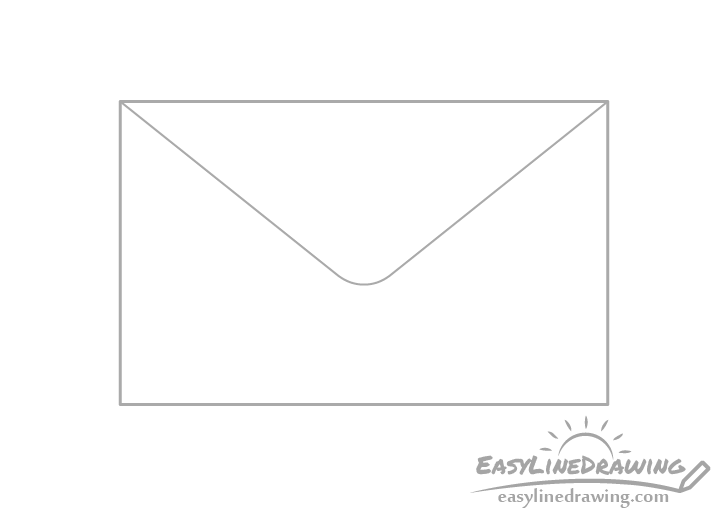
Coming down from the top add the upper flap (usually has the glue used to seal the envelope on it). Draw this with two angled lines ending with a curved tip that goes down just a little bit past the halfway point of the height of the envelope.
Step 3 – Draw the Bottom Flap & Finish the Line Drawing
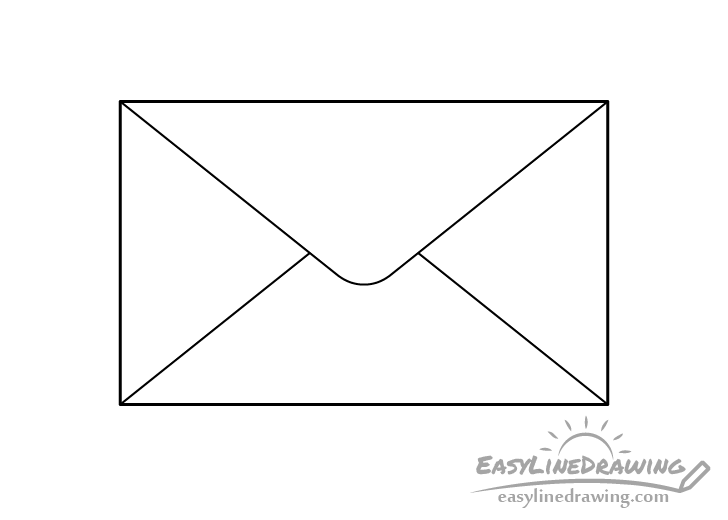
Coming up from the bottom and partially covered by the upper flap add the lower flap. Other then the little covered bit try and draw it as pretty much a mirror of the top flap so that it’s lines are at the same angle. Once done adding this part make sure that you are happy with your drawing and trace over your lines with a black pen or marker. Again, you may wish to use a ruler to help with the straight lines.
Step 4 – Color the Envelope
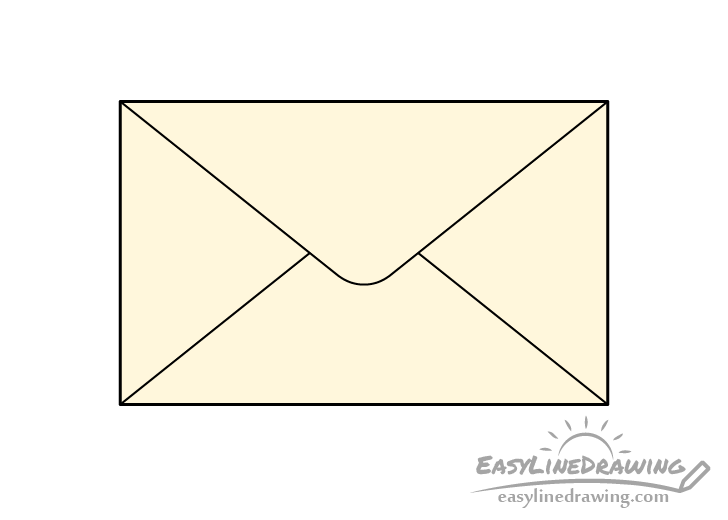
Envelopes are often just white. However, a plain white envelope will not look as nice on a white background such as the one in the example. To make it stand out just a little more the envelope will be a light yellow. You can of course make it just about any other color you like. Alternatively, you can color the background behind it and leave the envelope itself white.
To get a lighter color like the one in this example colored pencils or paints can both be good options. If you want a brightly colored envelope you can use markers.
Conclusion
This tutorial shows how to draw a common looking envelope. While overall it’s quite easy if you are a beginner to drawing you may find making straight parallel lines a bit of a challenge. For this reason it was suggested that you can use a ruler to help you. However, if you want to try and improve your drawing skills doing it without one can be really good practice.
- How to Draw a Pen Step by Step
- How to Draw a Pencil Step by Step
- How to Draw Paper Step by Step
- How to Draw a Picture Frame Step by Step
- How to Draw a Paper Airplane Step by Step
- How to Draw a Scroll Step by Step
- How to Draw a Newspaper Step by Step


