How to Draw a Match Step by Step
This tutorial shows how to draw a lit match in five steps with illustrated examples and simple explanations for each of them.
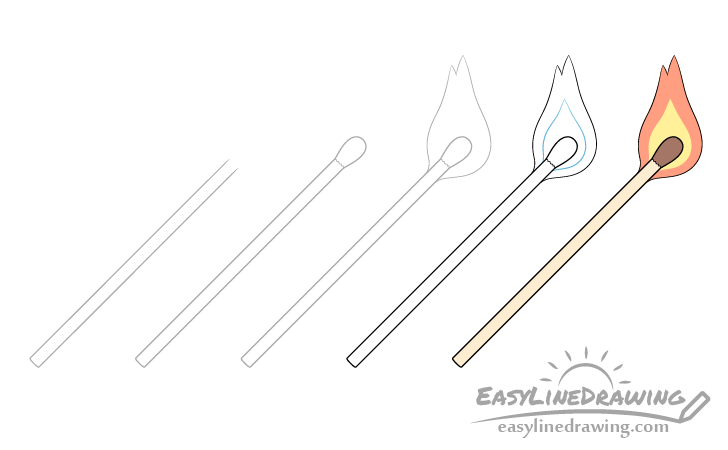
The match shown as the example is a traditional looking one with a wooden shaft. You can see a preview the steps for drawing it in the image above. Overall this is a fairly easy to follow guide that can be good for beginners.
It’s recommended that you start the tutorial in pencil and make light lines that wont leave marks when you erase them (in case you need to make a correction). You can darken them once you have all parts of the match outlined.
Step 1 – Draw the Shaft of the Match
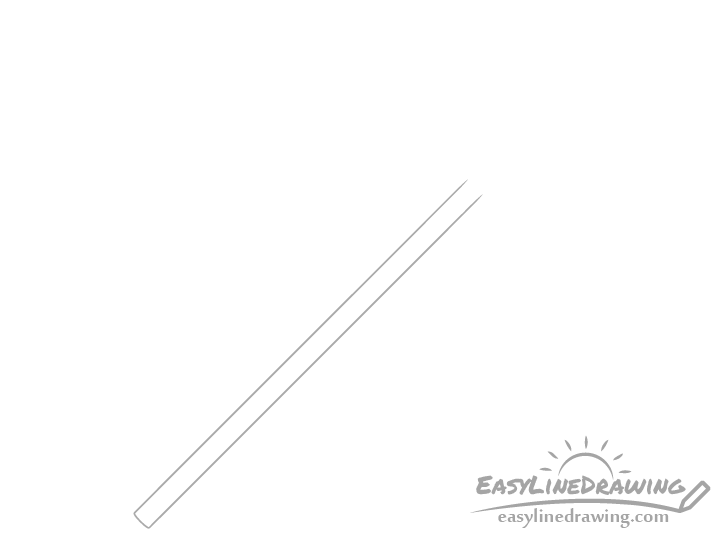
First draw the shaft. You will want to make this long and thin (as match shafts generally are). Define it with two straight parallel lines that are joined at the bottom with a light curve. Leave the top open for the match head that will be added in the next step.
If you have trouble drawing long straight lines you can use a ruler to help you.
Step 2 – Draw the Head

At the top of the shaft draw the match head. Make it a little wider as it goes up and give it a rounded tip on the end. You can define the split between it and the shaft with a short jagged line.
Step 3 – Draw the Flame Outline
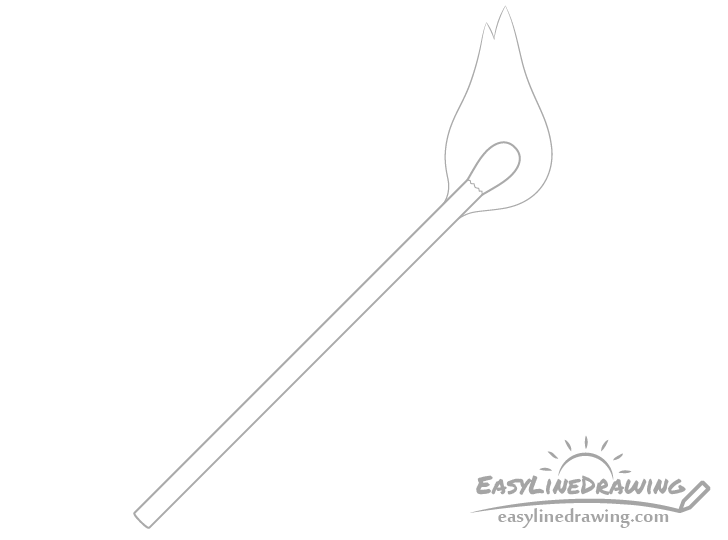
Surrounding the match head draw an outline of the flame. It’s shape is somewhat irregular so you can look at the provided example for reference. Make it wider at the bottom and narrower as it goes up with a little split at the very top.
Step 4 – Draw the Inner Part of the Flame
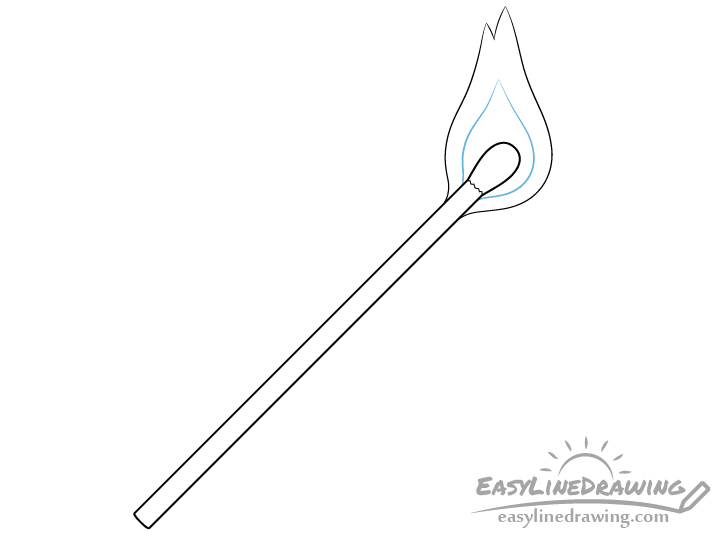
Inside the outline of the flame from the previous step draw it’s inner part. Give it a similar shape but without the split at the top. Also try and keep it’s outline as light as you can so that it’s just barely visible.
Once done with the flame you can darken your lines by tracing over them with a black pen or marker. If you don’t have one around you can simply do it with the pencil. However, do not darken the lines around the inner part of the flame (shown in blue).
Step 5 – Color the Match
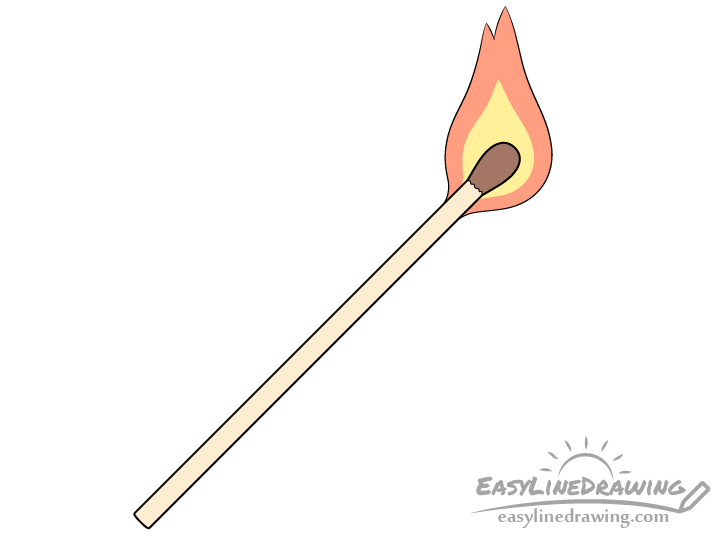
Once you’ve gone over your drawing with darker lines you can color it. An easy way to do this is with markers and/or colored pencils.
You can simply go with the following:
- Shaft – light yellow/brown
- Head of the match – dark brown
- Outer part of the flame – orange/red
- Inner part of the flame – yellow
As you can see from the example you don’t need an outline between the red and yellow parts of the flame as not having one there will make it appear lighter and more like actual fire. If you’ve defined the split between the two with a very light pencil line (as was suggested) it should pretty much blend into the color.
Conclusion
Because the match has a fairly simple drawing one is quite easy. Hopefully you haven’t had any trouble following along with the steps.
As was already suggested if you find making long straight lines difficult you can use a ruler to help you. However, if you want to improve your drawing ability it’s better to try without one.
For more simple guides like this one also see these other tutorials:
- How to Draw a Lighter (6 Steps)
- How to Draw a Beanie Hat Step by Step
- How to Draw a Battery Step by Step
- How to Draw an Ice Cube Step by Step
- How to Draw Scissors Step by Step


")


