How to Draw a Baguette (French Bread) Step by Step
This tutorial shows an easy way to draw a baguette, also known as “French Bread” in six steps with simple illustrations as examples.
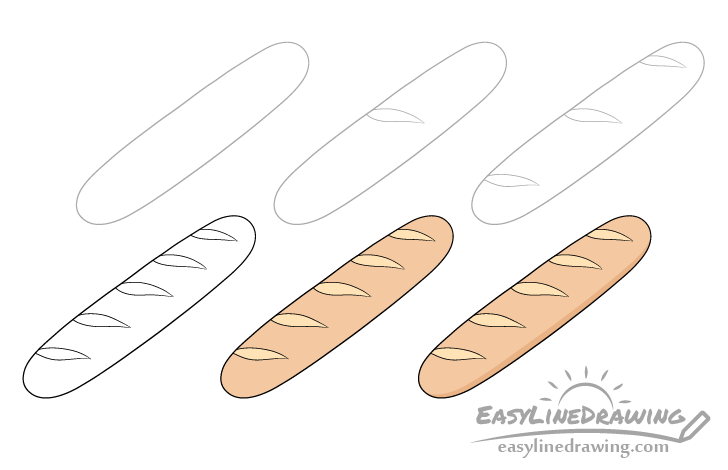
The baguette will be drawn in 3/4 view. You can see a preview of the drawing stages for it in the image above. As already mentioned this tutorial is quite easy and can be great for beginners.
Start the drawing in pencil and make light lines that are easy to erase in case you make a mistake. You can darken them with a black pen or marker later on.
Step 1 – Draw the Outline of the Baguette
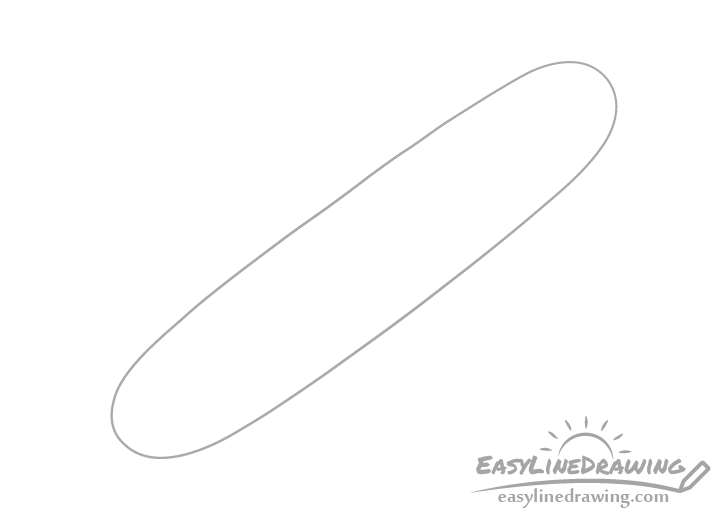
First outline the main shape of the baguette as shown in the example. You don’t have to be very careful with your lines as baguettes tend to somewhat warp as they are braked. You can actually deliberately make them somewhat wobbly/wavy.
Step 2 – Draw the Middle Slash
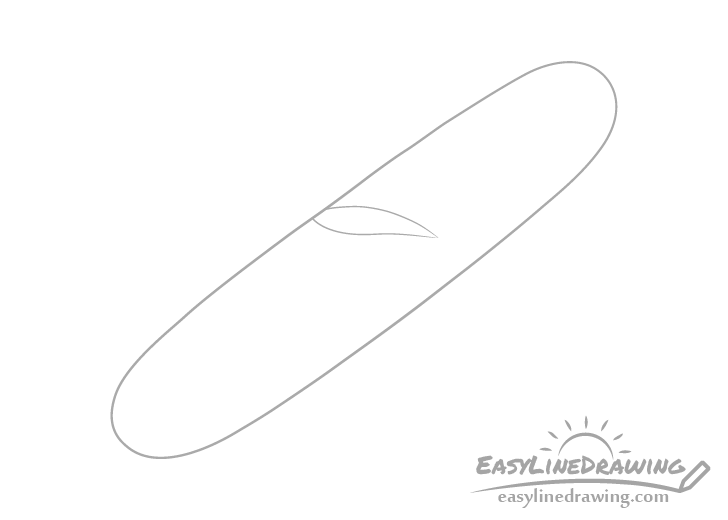
Baguettes generally have a series of slashes along them added with a technique called “scoring”.
To make it easier to position the slashes in a way where their spacing is fairly even stat by adding the one in the middle.
Draw it on an angle in relation the baguette and make the slash wider in the middle and thinner to the sides.
Step 3 – Draw the Slashes Near the Ends
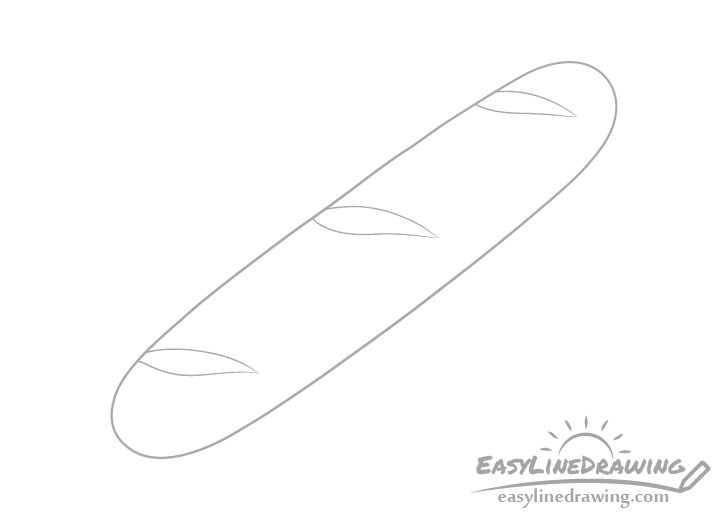
Draw two more slashes near ends of the baguette. Their shapes should be somewhat similar but they don’t need to be exactly the same.
Step 4 – Draw the “In Between” Slashes & Finish the Line Drawing
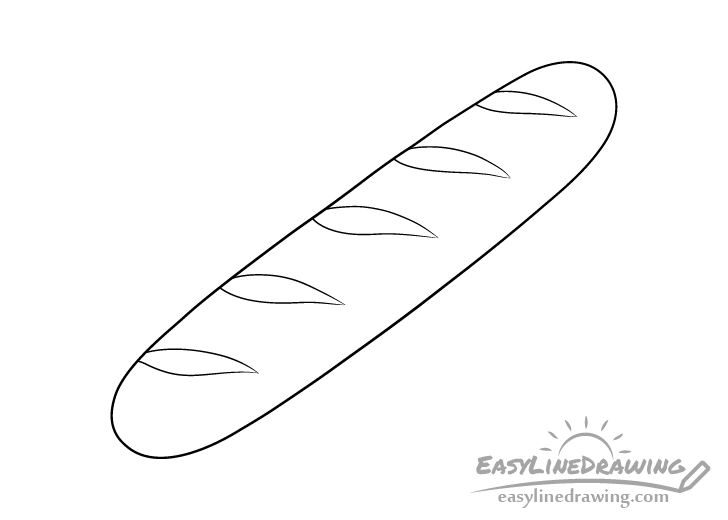
Finally draw the last pair of slashes. Place these between the one in the middle and the ones on each of the ends. Once look over your drawing to confirm that everything looks good and make any corrections if required. Afterwards you can trace over your lines with a black pen, marker or simply darken them with the pencil.
Step 5 – Add Color
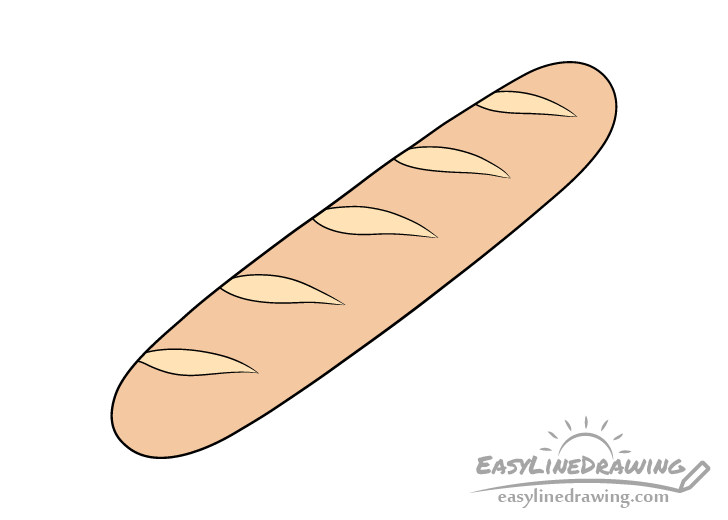
To color the baguette make most of it an orange/brown and make the slashes a lighter yellow brown. Pencils or paints can both be good options for this.
If going with paints you can simply mix the appropriate colors. If going with colored pencils you can first go over the baguette with one color (yellow or orange) and then with another (brown).
Step 6 – Add Shading
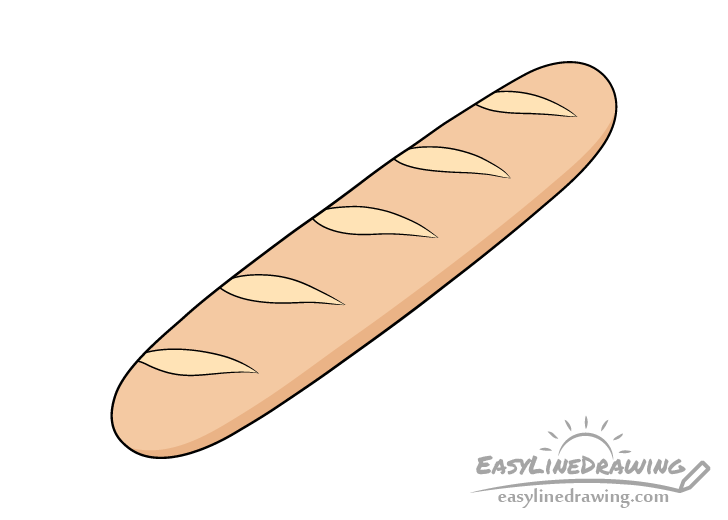
Finally to make the baguette appear a little less flat you can give it a thin long shadow along it’s bottom. You can add this by once again using a brown pencil to darken that area. If going with paints you may need to wait for them to dry first and add in the shadow afterwards.
Once done you should have a finish drawing of the baguette/French bread.
Conclusion
Baguettes generally have simple shapes which makes drawing them quite easy. You don’t have to be overly precise with your lines and you may even want to make them wavy on purpose as the bread tends to warp when baked.
Hopefully you’ve found the provided examples and instructions helpful. For more similar tutorials also see the following:
- How to Draw a Slice of Bread or Toast Step by Step
- How to Draw a Croissant Step by Step
- How to Draw a Muffin Step by Step