How to Draw a Battery Step by Step
This easy tutorial shows how to draw a battery in six steps. It provides simple examples and quick instructions to go along with them.
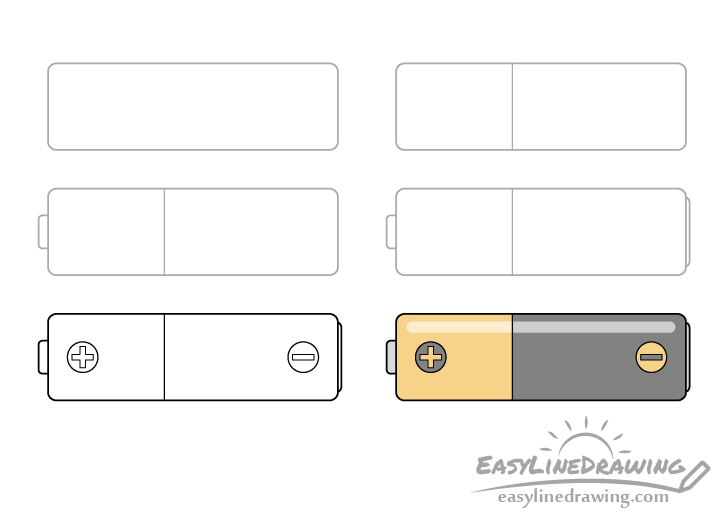
The example is of a triple a battery with colors that are fairly common to such items. The drawing is slightly stylized/simplified to make the tutorial easier for beginners. You can see a preview of the drawing stages for it in the preview above.
Start the tutorial in pencil and make light lines that are easy to erase in case you make a mistake. You can darken them later on with a black pen or marker.
Step 1 – Draw an Outline of the Battery

Begin with an outline of the main shape of the battery without any of the smaller parts. It should be shaped like a long rectangle with rounded corners as shown in the example.
Step 2 – Draw the Split
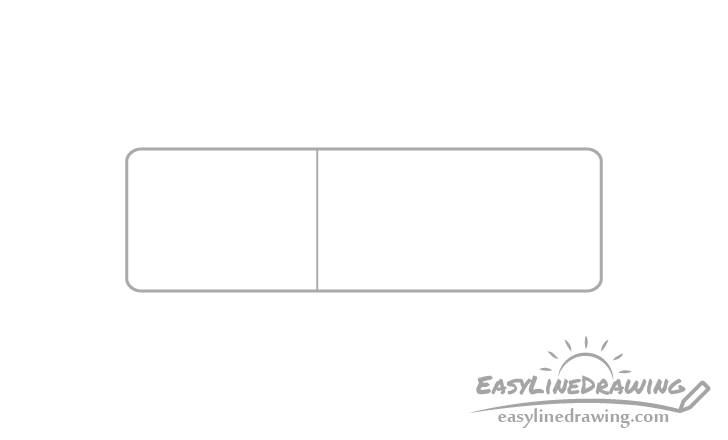
For this quick step add a split in the battery where the two sides will be different colors later on. Simply draw it as a straight vertical line and make one side larger than the other.
Step 3 – Draw the Positive Terminal
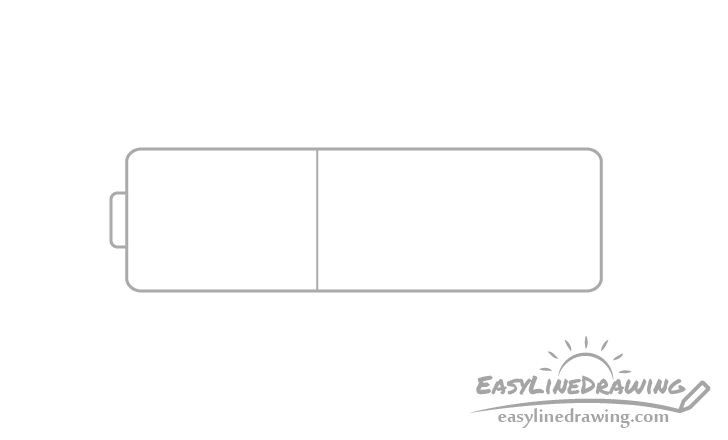
Draw the positive terminal of the battery as a little bump on the shorter side of the split from the previous step. Make it’s shape as that in the example with rounded corners on it’s outward facing side.
Step 4 – Draw the Negative Terminal
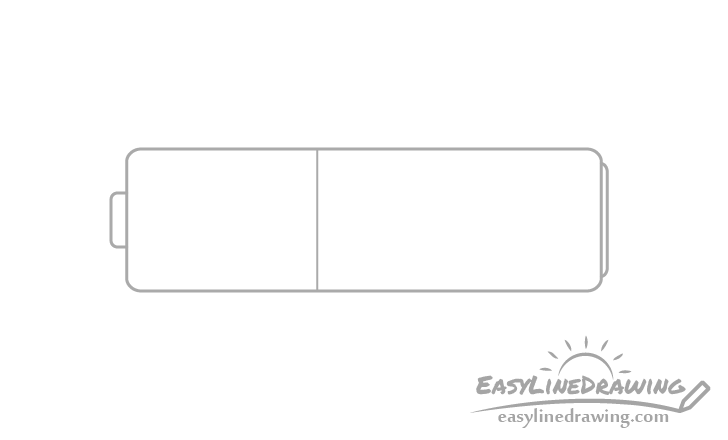
On the longer end of the split add the negative terminal. Make it much taller but also much flatter than the positive one.
Step 5 – Draw the Plus & Minus Signs & Finish the Line Drawing
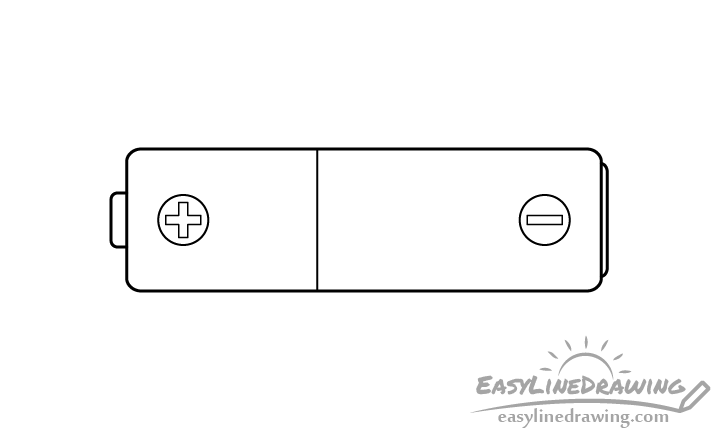
On the positive terminal side of the battery draw a little circle and draw a plus sign inside that. On the negative side again draw a same sized circle and draw a minus sign inside that.
Once done with the plus/minus sign icons you can trace over your drawing with a black pen, marker or darken them with the pencil. Just be sure you are happy with the way your drawing looks before doing so.
Step 6 – Color the Battery
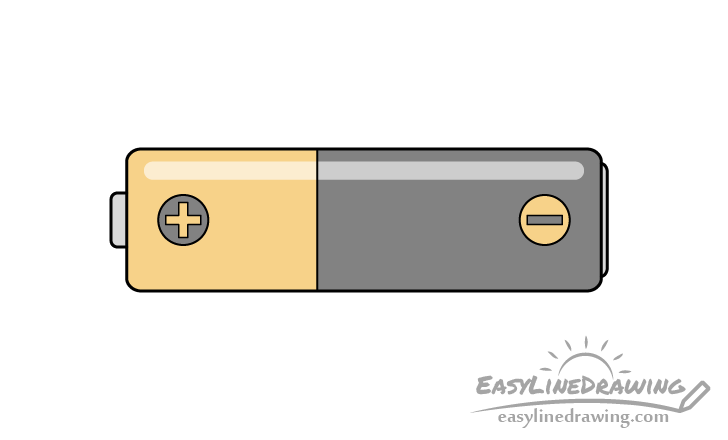
To color the battery colored pencils or water based paints can be a good option. In this case the plus side of the battery will be yellow/orange and the minus side a dark grey. You can of course use a different color combination if you prefer. For the smaller details such as the plus/minus sign icons you can go with the color from the opposite end of the battery for the circles and the same color as their side of the batter for the plus/minus. You can make both the positive and negative terminals a light grey.
You can optionally add a long highlight running along the top of the battery to show that it has a smooth reflective surface. You can outline the highlight very lightly in pencil before coloring so that you don’t accidentally go over it. At first you will want to color around it and then you can also lightly go over the highlight itself with the same colors as the parts of the battery that it overlaps. This way the highlight will not look overly bright.
Conclusion
This tutorial shows how to draw a fairly common looking triple a battery in a way that is slightly stylized. It also provides some color suggestions that such items are likely to have. The drawing is fairly simple so hopefully you have not had much trouble following along.
For more similar tutorials you might also like to try see:
- How to Draw a Light Bulb Step by Step
- How to Draw a Cartoon Car in 12 Steps
- How to Draw a Mobile Phone Step by Step
- How to Draw a Key Step by Step
- How to Draw a Television Step by Step


")


