How to Draw a USB Stick Step by Step
This easy tutorial shows how to draw a USB stick from the front view in six steps with simple examples and quick explanations.
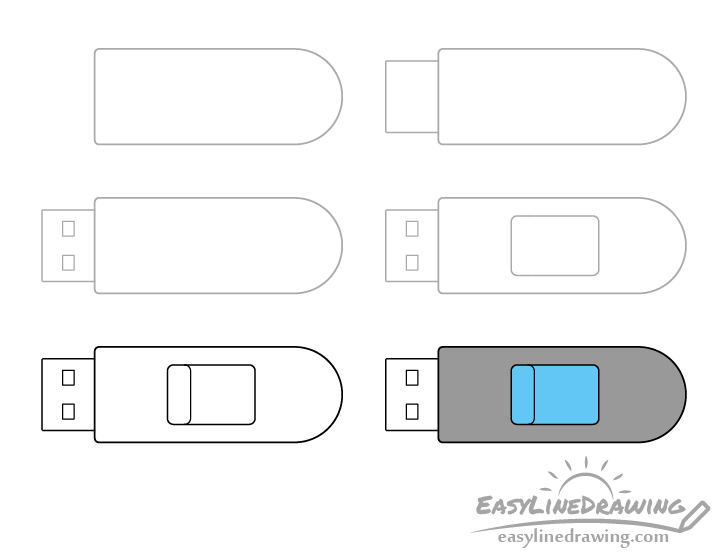
You can see a preview of the drawing steps for the USB stick in the illustration above. In this case it will be one with a simple slider mechanism which is a common designs for such items.
Start the tutorial in pencil and make light lines that are easy to erase in case you need to make a correction. You can darken them later on with a black pen or marker.
Step 1 – Draw the Main Body of the USB Stick
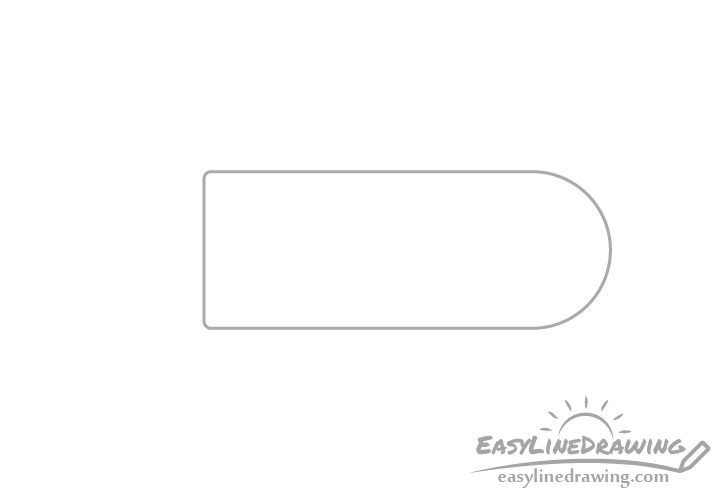
First outline the main body of the USB stick. Make it’s front end flat with slightly rounded corners and it’s back end rounded like a half-circle.
Step 2 – Draw the Connector
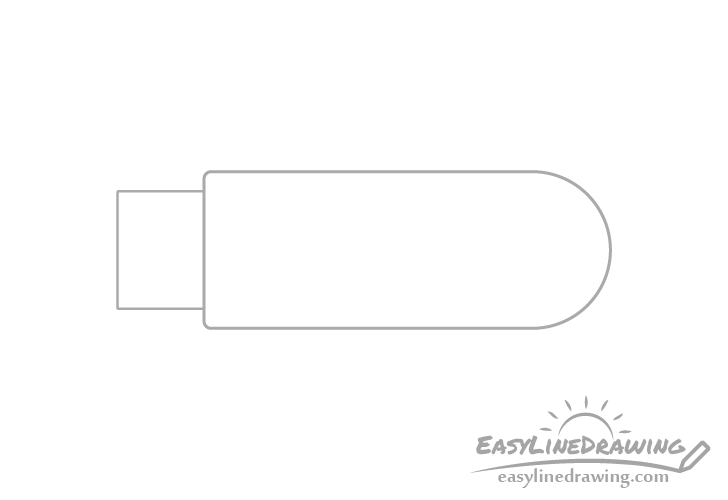
Coming out of the front draw the connector. Make it somewhat narrower than the stick and rectangular in shape.
Step 3 – Draw the Holes
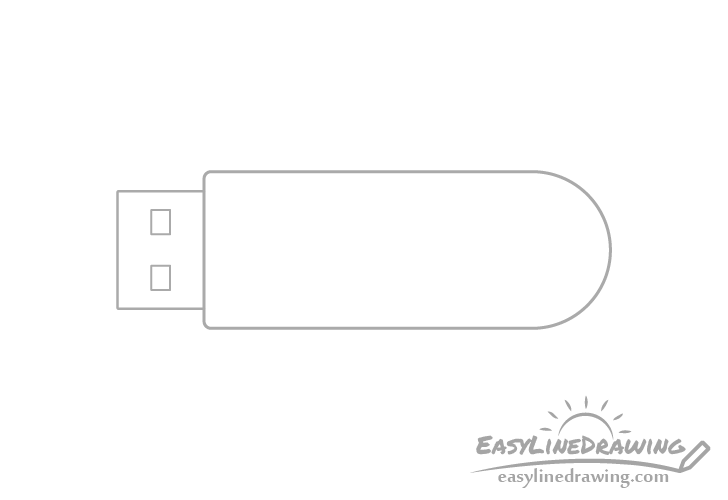
Inside the connector draw two small rectangular holes that USB connectors of this type have. Try and make sure that the two are of the same size and line up with one another.
Step 4 – Draw the Indent For the Slider
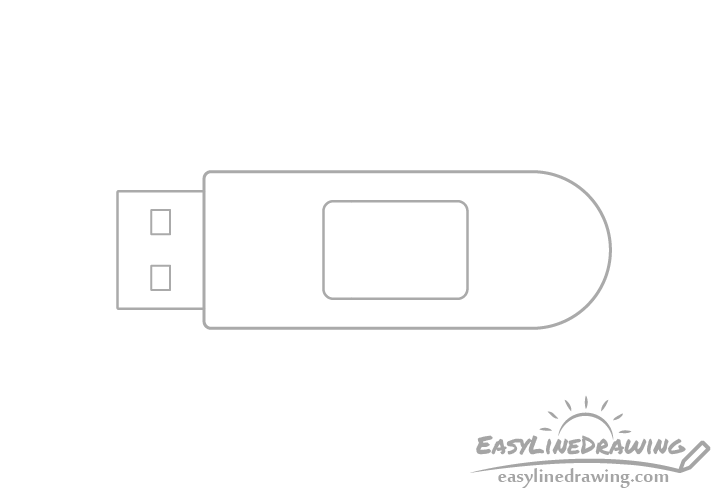
Inside the outline of the USB stick’s main body draw a smaller rectangle with rounded corners. This will be the little indented area that the slider will move along.
Step 5 – Draw the Slider & Finish the Line Drawing
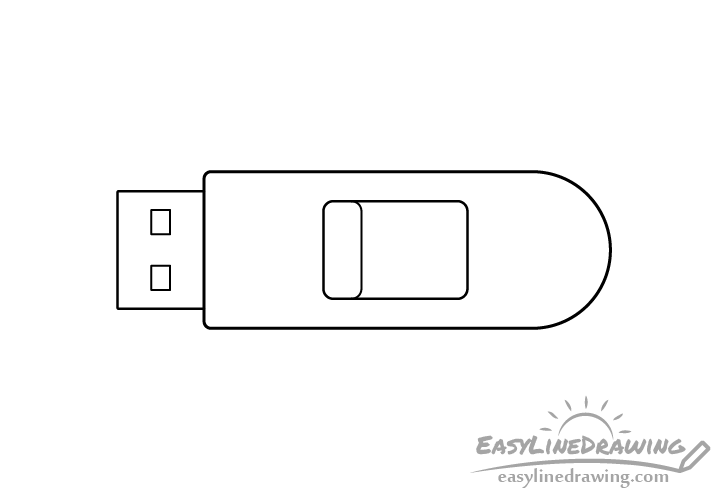
Inside the rectangle from the previous step draw a smaller (narrower) one, again with rounded corners (same as those on the larger one). This will be the slider that brings the connector in or out.
Once done confirm that you are happy with your drawing (make any corrections if needed) and trace over your lines with a black pen or marker. If you don’t have one around simply darken them by pressing harder on the pencil.
Step 6 – Color the USB Stick

To color the usb stick make the connector a light grey to show that it’s metallic and make the holes in it a darker grey. You can color the rest of the usb however you like. In this case it’s main body will again be a darker grey and the slider area will be blue.
You can also use just about any medium you like (paints, colored pencils, markers) to add the colors. You can even just do the greys with a regular pencil.
Once done coloring you should have a finished drawing of the USB stick.
Conclusion
This tutorial shows a common USB stick with a slider for opening/closing it. As the design consists of fairly simple shapes it should be relatively easy to draw. You can of course also experiment with it’s look and change things up however you like.
For more similar tutorials also see:
- How to Draw a Mobile Phone Step by Step
- How to Draw Headphones Step by Step
- How to Draw a Battery Step by Step
- How to Draw a Television Step by Step

")


