How to Draw a Light Bulb Step by Step
This tutorial shows how to draw a light bulb in six steps with simple illustrations and a breakdown of it’s various parts

The light bulb in the example is drawn in a simplified style to make the tutorial beginner friendly. Most of the steps in the guide focus on creating the line drawing. This is done by gradually adding the light bulb’s various parts. The last step shows how to shade the drawing. All of the steps can be done in regular pencil.
Start the drawing with light lines as you will need to erase parts of the outline from the previous step when adding the threads along the base. Light lines will also make corrections in case you happen to make a mistakes. You can darken them once you’ve outlined all of the light bulb’s parts (before shading).
Step 1 – Draw the Light Bulb’s Glass Dome

Start by drawing the glass dome of the light bulb. Give it a pretty much round upper part and make it narrower as it goes towards the bottom. Make the under side flat.
Step 2 – Draw the Base

Below the dome add the base of the light bulb. Draw the base starting with it’s upper sections. Next, add the lower section that should get narrower as it goes down ending with a rounded tip at the bottom. Finally, draw a line a little bit above this bottom tip to indicate the electrical connector.
Step 3 – Draw the Screw Threads

Add some screw threads along the light bulb’s base as shown in the example above. First draw these over top of the outline of the base. Next, erase the parts of the base that they overlap.
Step 4 – Draw the Glass Base
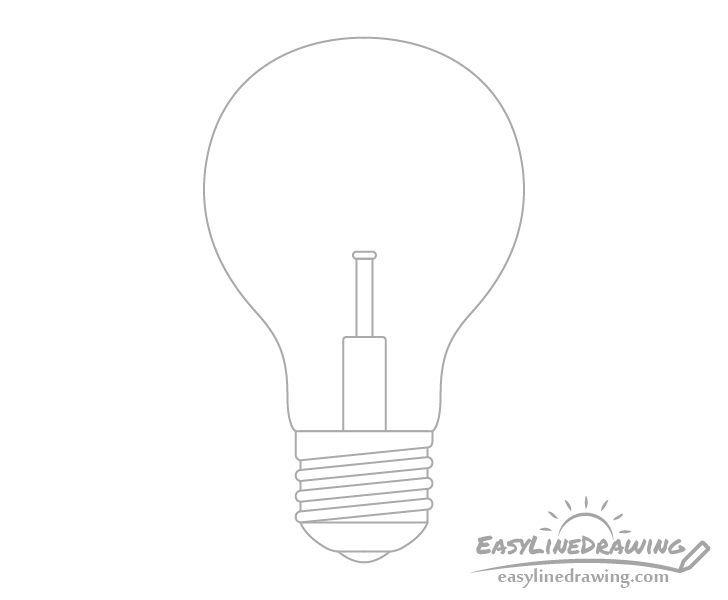
Inside the dome add the glass mount (supports the wires added in the next step). Draw it starting with a fairly wide and long part at the bottom. Next, draw the section on top of this that gets wider as it goes up to create a wider cap-like area. Create it’s outline with fairly large rounded corners on it’s upper end. Follow this up with a fairly long and narrow section and finish with a little cap-like part on top of that as well. Make this cap slightly wider than the previous section and give it’s outlined small rounded corners on all sides.
Step 5 – Draw the Filament & Finish the Line Drawing
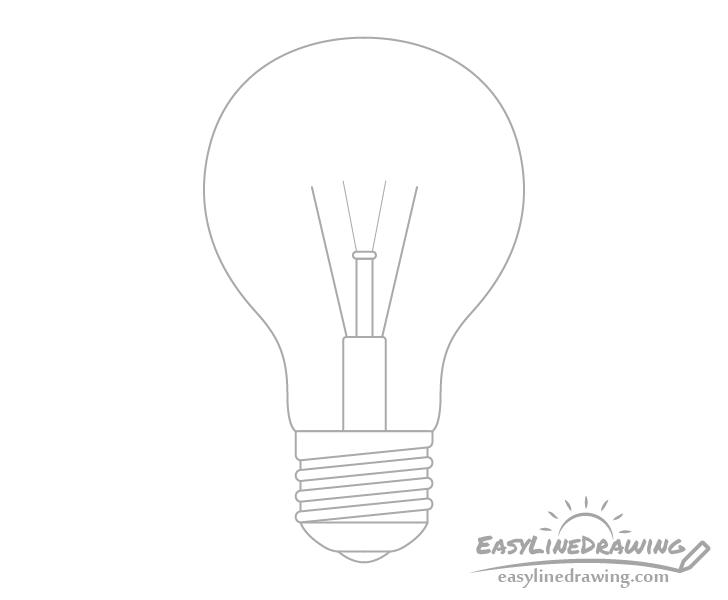
First, draw some support wires that will hold up the filament. Add a longer pair going up from the lower “cap” of the glass mount and a shorter pair going from the upper “cap”. Draw the shorter pair of wires reaching slightly higher up. You can define each pair of wires with straight lines. Draw the these moving away from one another as they go up.
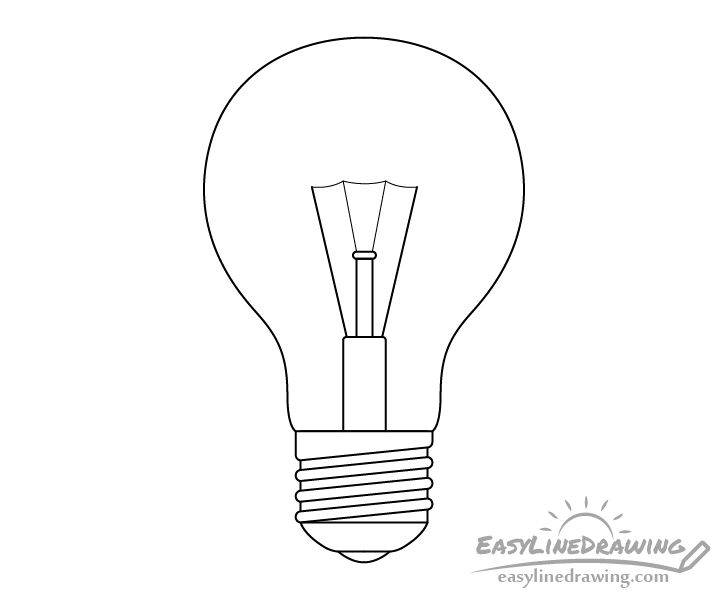
Connect the wires with a few curved lines to show the filament.
Afterwards look over your drawing to make sure you are satisfied with how things look. If you are happy with it thus far you can darken your lines with the pencil or a thin black marker. Otherwise make any correction you feel are needed prior to doing so.
Step 6 – Shade the Light Bulb
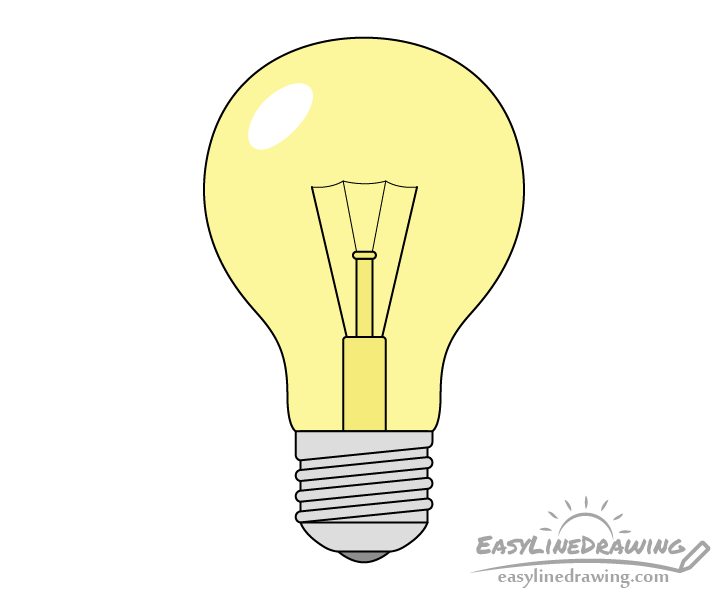
To shade the light bulb make the base and glass mount grey and the connector at the bottom a very dark grey or black. Next, lightly outline a reflection that curves along the upper end of one side of the light bulb. Finally, shade the glass dome leaving the reflection white. When shading this part create a gradient going from lighter grey in the center to darker grey around the dome’s outline. This will help make it look like glass.
Conclusion
A light bulb is not very complex object but at the same time it still has a good amount of details to it. Light bulbs can vary in their design but generally a standard incandescent light bulb will have the parts similar to those shown in the examples.
If you like these kind’s of simple, beginner friendly step by step guides, be sure to also try the following:
- How to Draw a Candle Step by Step
- How to Draw Fire Step by Step
- How to Draw a Cartoon Car in 12 Steps
- How to Draw a Pencil Step by Step
- How to Draw an Umbrella Step by Step
- How to Draw a Mobile Phone Step by Step

")


