How to Draw a Bird Step by Step
This tutorial shows how to draw a cartoon bird sitting on a branch. It consists of nine steps with illustrated examples and instructions for each of them.
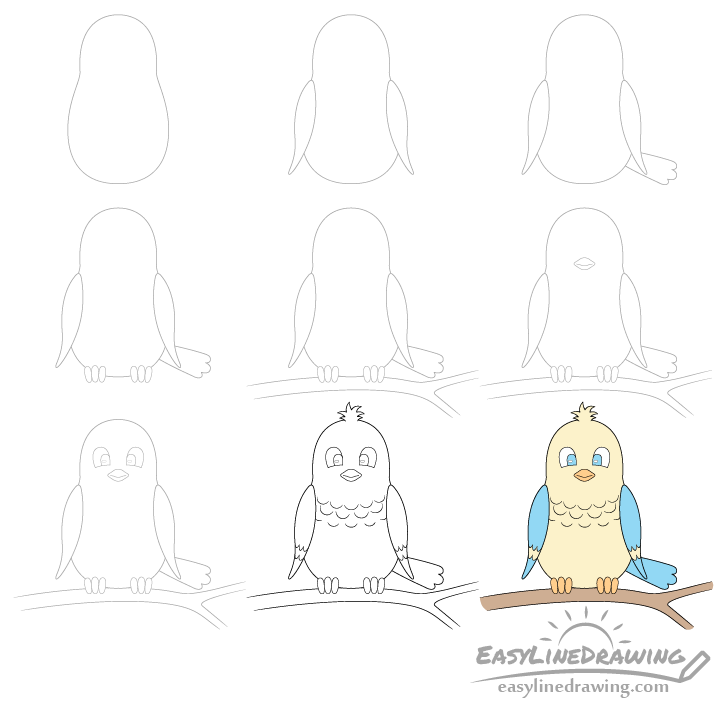
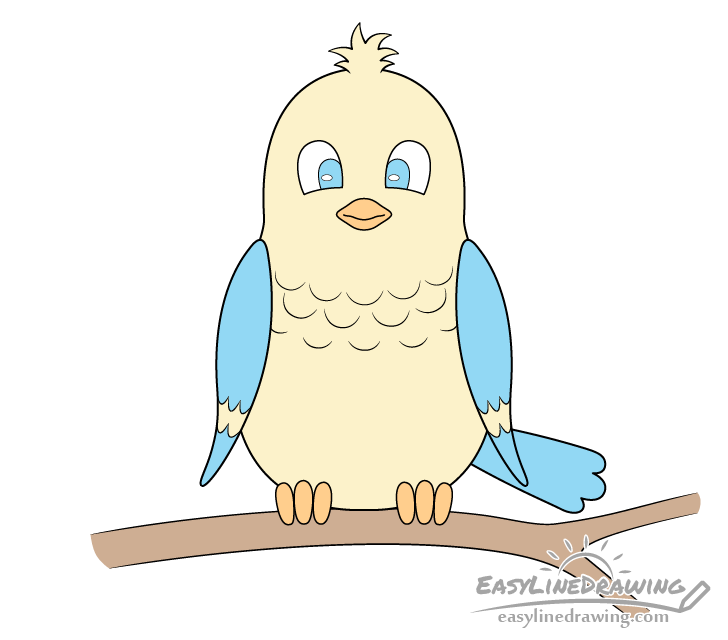
The bird drawing will be done in a very simple beginner friendly way. You can see a preview of it in the image above.
Start the tutorial with a pencil and make light lines as you will need to erase a little bit of the drawing in a couple of the steps. Light lines will also make it easier to correct mistakes. You can darken them before coloring (in step eight).
Step 1 – Draw the Bird’s Body
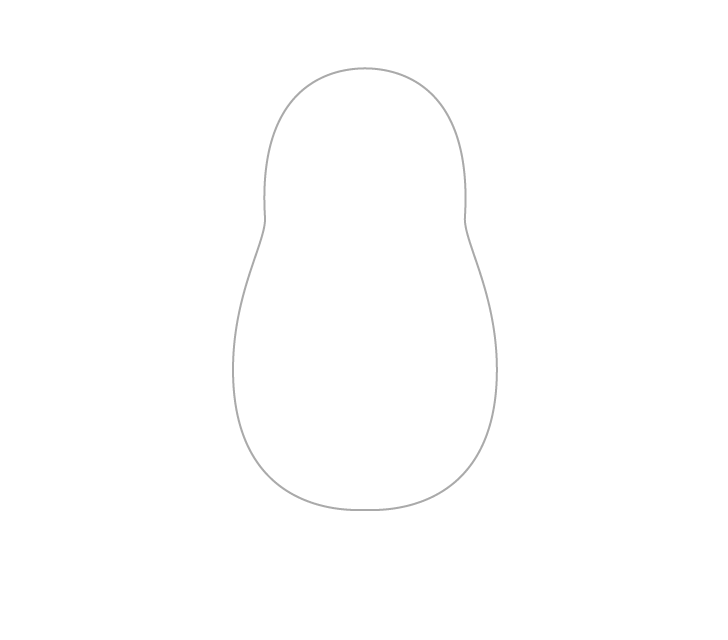
First draw the outline of the birds head and body as in the example above. You can draw the head with a curve shaped like an upside down “U”. It should then transition into the larger curve of the body. The shape of the body should be similar to a water drop where it gets wider as it goes down and ends with a rounded bottom.
Step 2 – Draw the Wings
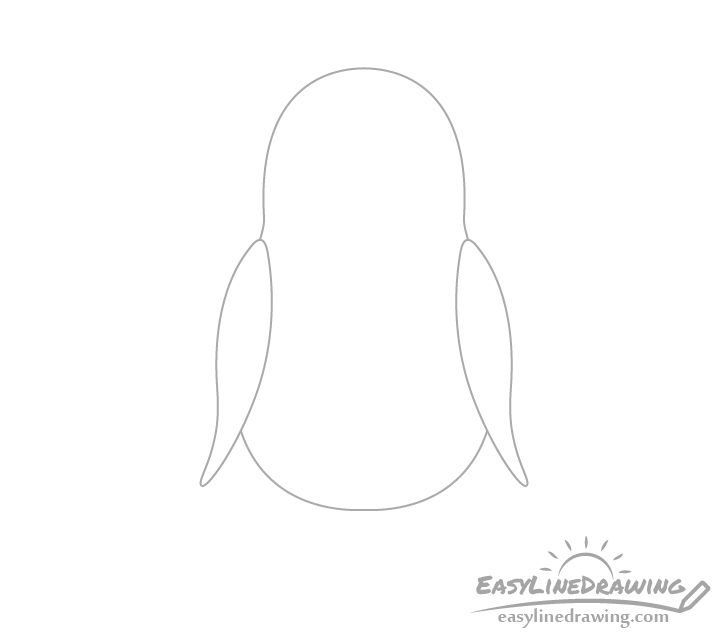
At the sides of the bird starting from just a little bit below the head add the wings. As they will overlap the outline of the body you will need to erase a bit of that once you add them.
Make the shapes of the wings as shown in the example.
Step 3 – Draw the Tail

Sticking out to one side draw the tail. Make it slightly wider towards the tip with a few curves on the end to show the feathers.
Step 4 – Draw the Feet
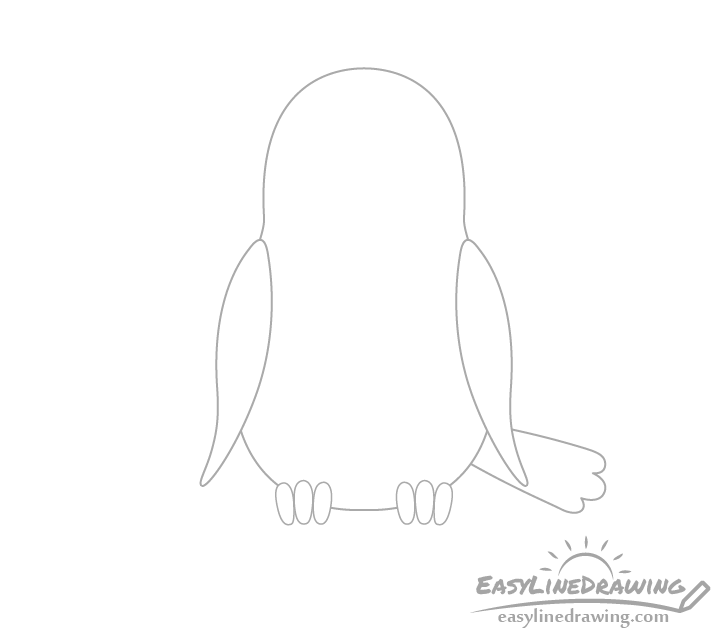
At the bottom of the body draw the feet (really just the toes). You can draw each toe as a sort of “mini sausage” like shape. You can also make the toes point slightly in the direction of one another toward the bottom. This will make it look a little bit more like they are gripping something.
Similar to the wings the feet will overlap a part of the body’s outline so you can again erase that after drawing them in.
Step 5 – Draw the Branch
Right below the feet/body add the branch that the bird will be sitting on. Make it’s shape curved and give it a split on one of it’s ends.
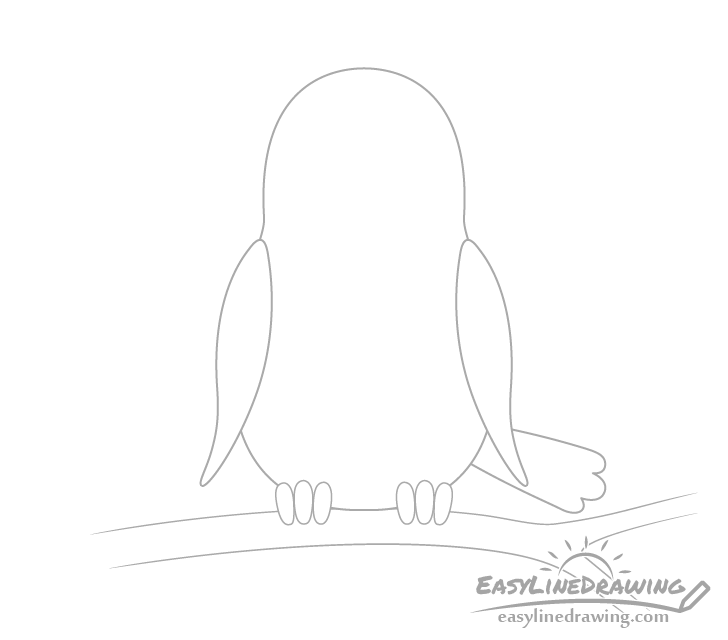
Step 6 – Draw the Beak
In the middle of the head slightly above where it goes into the body draw the beak with it’s outer shape similar to a lemon. Inside it draw the line for the mouth.
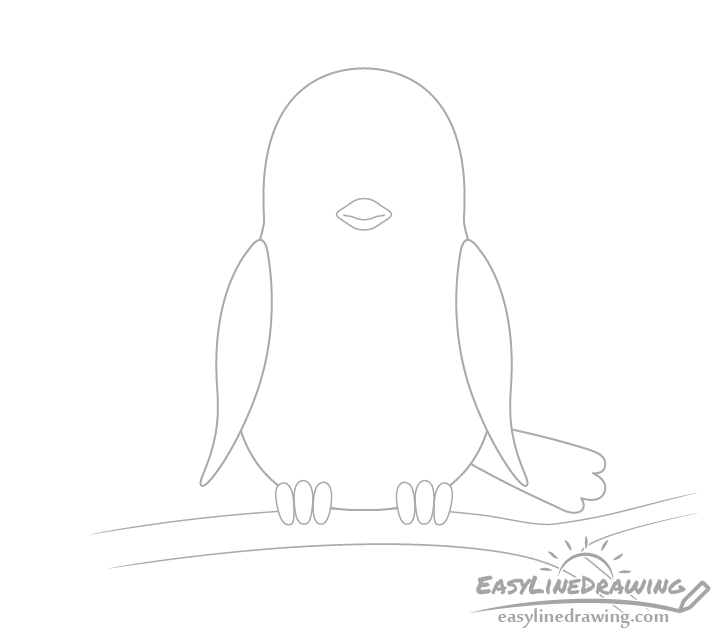
Step 7 – Draw the Eyes
To finish the bird’s face add the eyes. Start with their outline shapes that look like ovals with their bottoms cut off by curved lines.
Towards the inner corners of the eyes draw the irises with pretty much the same shapes as the main outlines (but smaller). To one side of each of the irises also draw a small oval highlight.
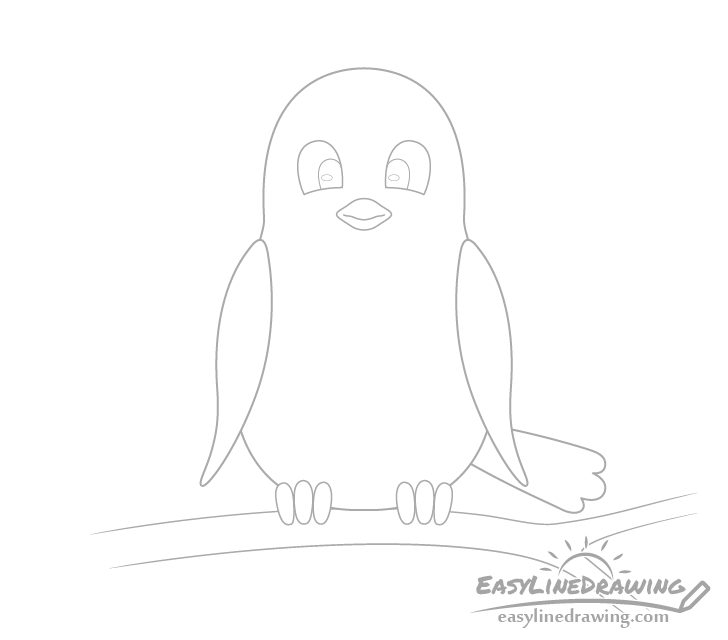
Step 8 – Draw the Feathers
To make the bird look a little more interesting add some feathers. In this case you can first add a little “mohawk” at the top of the head drawn in little pointy clumps (erase a bit of the head’s outline when adding it). Afterwards you can give a hint of feathers on the wings with a few sets of curved lines. Also add several curves around the neck.
Once you have your bird looking the way you want you can go over your lines with a black pen or marker. Alternatively you can also simply darken them with the pencil.
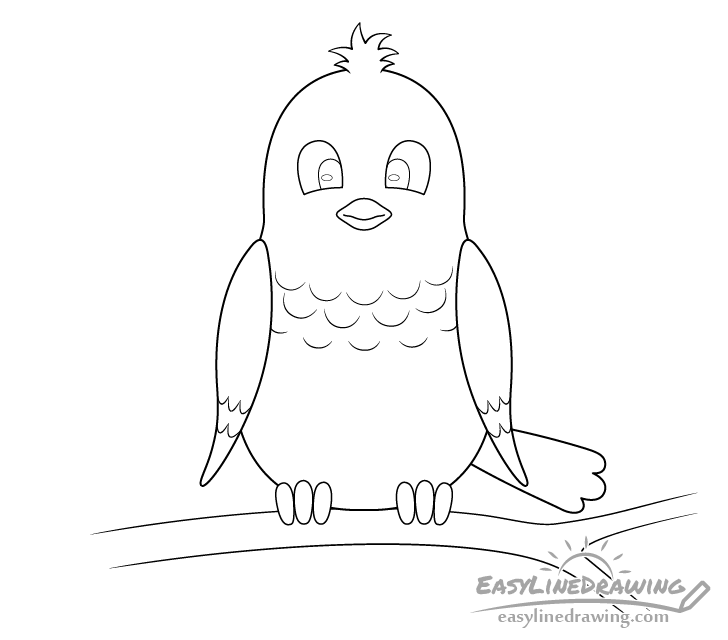
Step 9 – Color the Bird
You can color the bird with paints, colored pencils, markers or just about anything you like. In this example it will be blue and yellow along with some orange (for the beak/feet). The branch will be brown.
Conclusion
Drawing a cartoon bird like the one in this tutorial can be easy and fun, especially when you have a detailed step by step guide like the one in this tutorial. Hopefully you didn’t have any trouble following along.
For more similar tutorial see:
- How to Draw an Owl Step by Step
- How to Draw a Swan Step by Step
- How to Draw a Toucan Step by Step
- How to Draw a Cat Step by Step
- How to Draw a Fox Step by Step
- How to Draw Mountains Step by Step

")


