How to Draw a Cat Step by Step
This nine step tutorial shows how to draw a cartoon cat. It includes simple illustrated examples and easy to follow drawing tips.
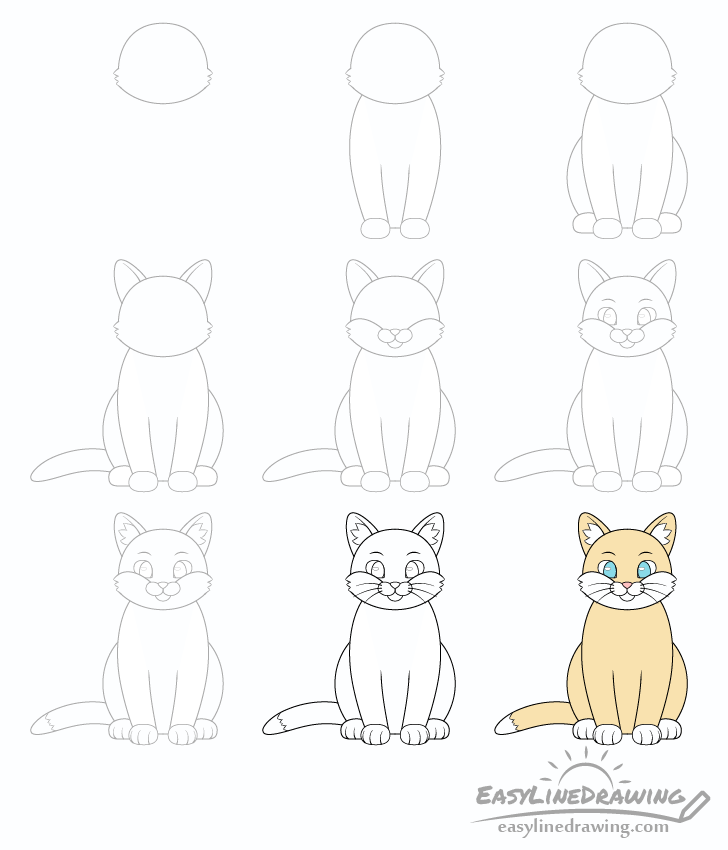
The cat drawing used as the example is fairly simple but still has a good amount of details as to not look too plain. You can see a preview of all of the included drawing stages in the image above.
It’s recommended that you start in pencil and make light lines so that you can easily correct any mistakes. You can darken them before coloring (in step eight).
Step 1 – Draw the Cat’s Head
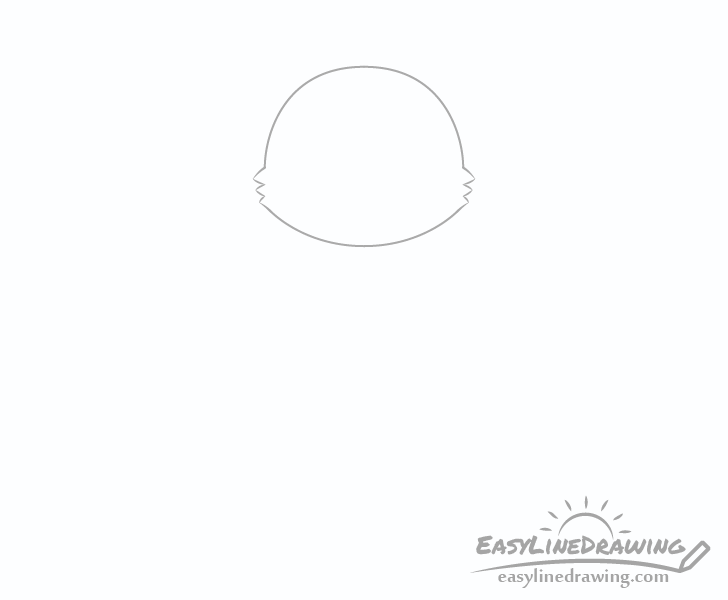
Begin the drawing by outlining the shape of the cat’s head. Be sure you position it in a way that you still have enough room to add the ears and the body.
Draw a half circle like curve for the top of the head and a smaller curve for the bottom. Between these two curves you can add some teeth like jagged edges. These will be little fur clumps sticking out from the cheeks.
Step 2 – Draw the Body & Front Legs
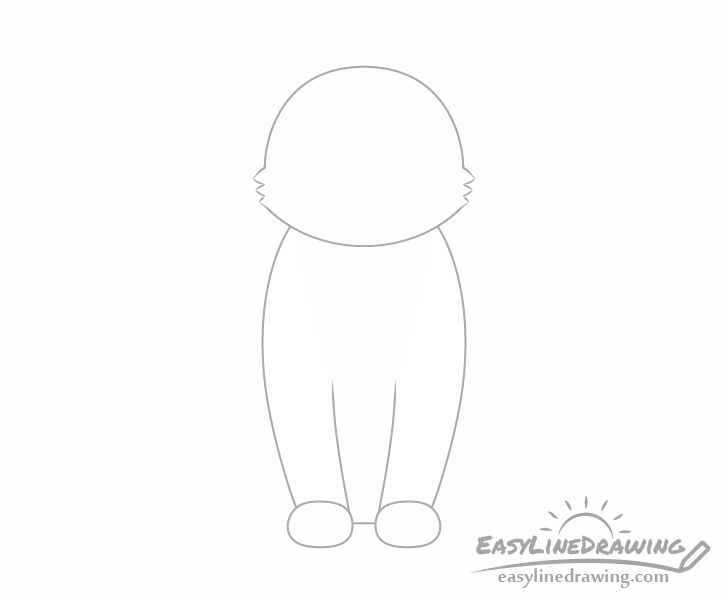
Add the outer part of the body/front legs by drawing two curved lines that go down from the bottom of the head. Inside these lines draw two more curves for the inner shape of the legs. Make these curves about half the length of the first set. At the bottom of the legs draw the feet (similar to ovals in shape) and connect them with a line to show the bottom of the body.
Step 3 – Draw the Back Legs
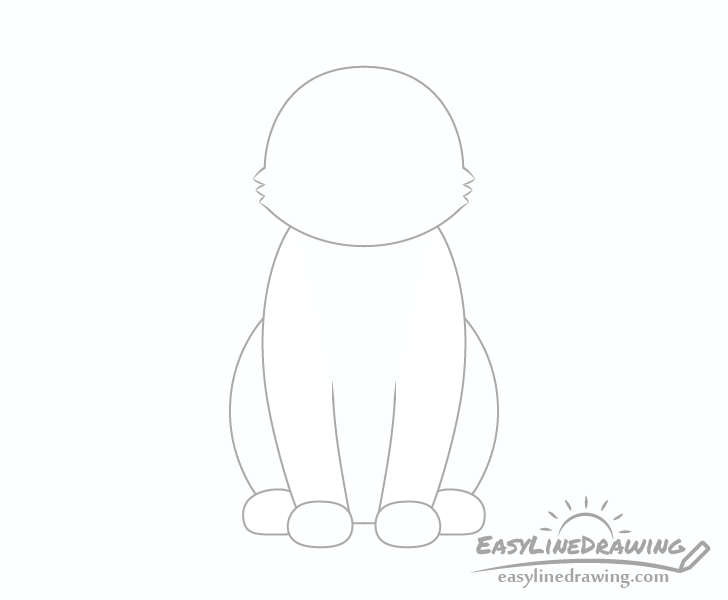
Add the back legs by drawing yet another pair of curves. These should go down down from slight above the halfway point of the front legs/body. At the bottom of these draw the back feet with shapes similar to the front feet but slightly flatter at the bottom. They should also be partially hidden behind the front legs.
Step 4 – Draw the Ears & Tail
Draw the tail with a slight curve. It’s shape should be similar to a peeled banana. Draw the ears sticking out in slightly different directions (away from one another). Make them wider at the base and narrower as they go up.
After you have the ears outlined draw a line going up along each of their inner sides. This will help show that the ears have a curve to their shapes and are not just flat.
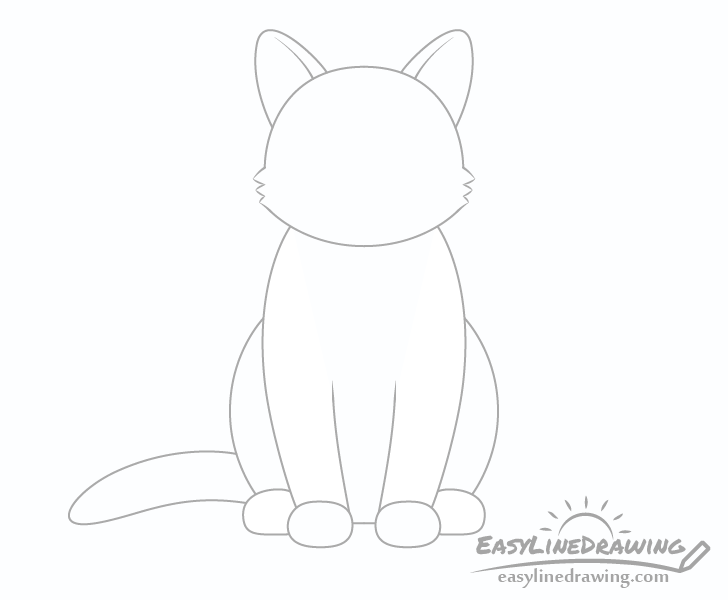
Step 5 – Draw the Snout
For this step start by drawing the nose followed by the top part of the snout. Position these a little bit less than a third of the way up from the bottom of the face.
Draw the nose similar to a triangle but with rounded sides/corners. From the top corners of this “triangle” the nose draw two oval like shapes that meet at it’s bottom corner. These will be the upper part of the snout. Draw the bottom of the snout with just one curved line.
Finally from the upper part of the snout draw two curves that go towards the upper end of the fur clumps from step one. These will define the cat’s cheeks.
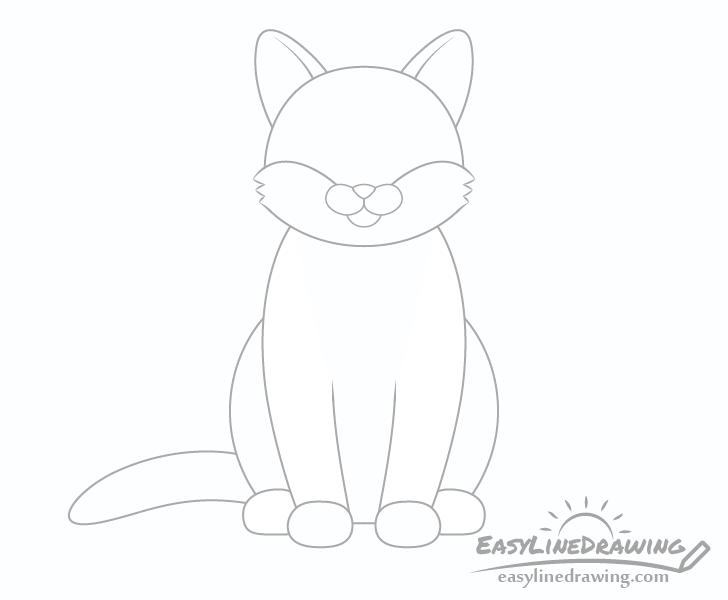
Step 6 – Draw the Eyes
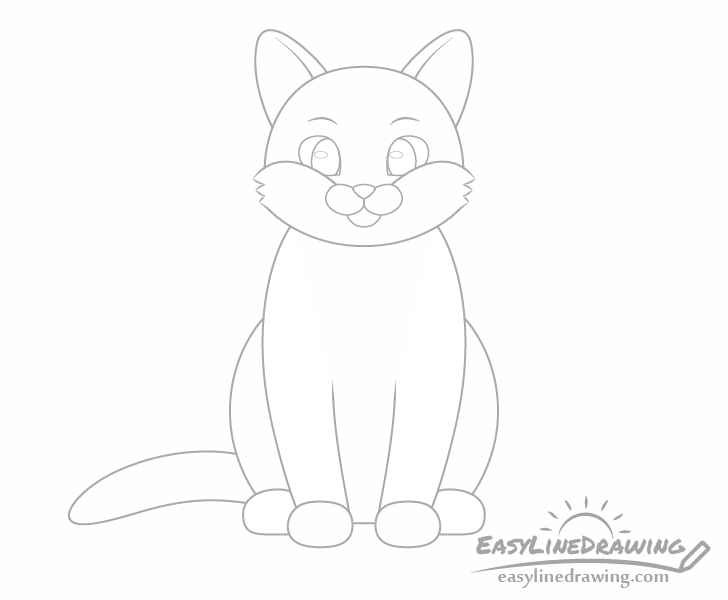
Draw the eyes with almond like shapes pointing towards the nose. Their bottoms should be slightly covered by the cheeks. Inside each eye draw the irises and inside each iris outline a small oval shaped reflection (slightly to one side).
One you have the eyes draw a pair of eyebrows a little bit above them.
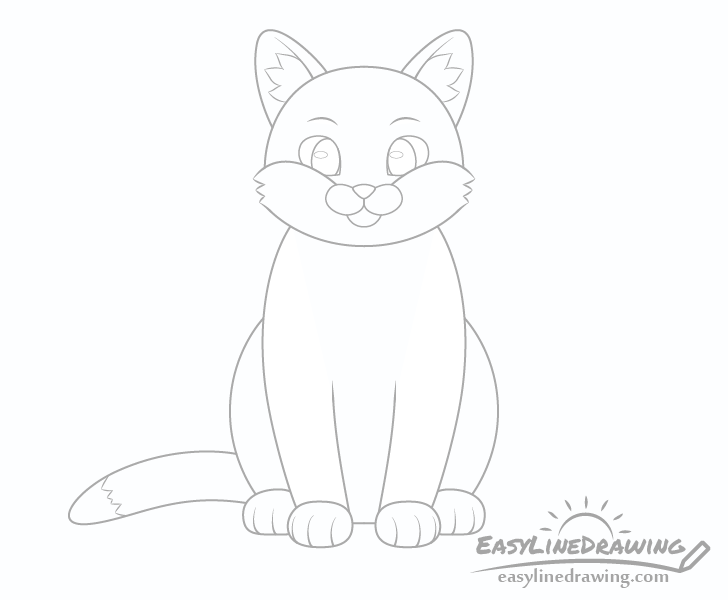
Step 7 – Add the Ear/Tail Fur & Toes
To make t
To make the cat look a little more interesting first add some fluff inside it’s ears. Draw these as large pointy clumps. Next show the individual toes by adding some curves along the feet (as shown in the example).
Finally outline the tip of the tail with a series of gagged lines (used for coloring later on).
Step 8 – Add the Whiskers & Finish the Line Drawing
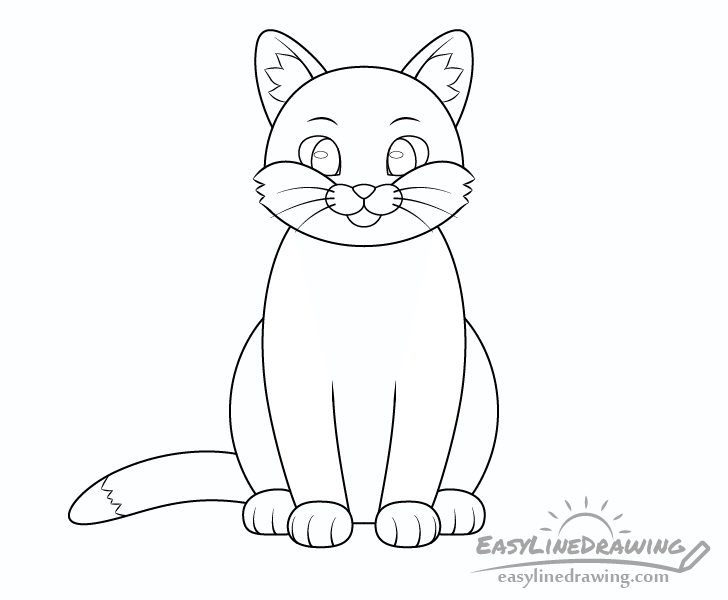
To finish the line drawing first add some whiskers going out from the upper part of the snout. Once done with this last lset of details you can trace over your lines with either a black pen or marker. Alternatively you can also simply darken them with the pencil.
Step 9 – Color the Cat
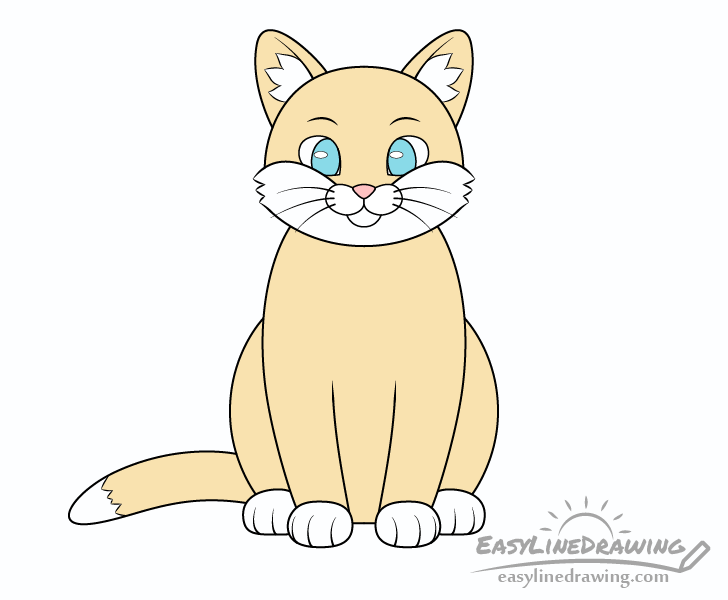
For this particular drawing colored pencils, paints or any medium that let’s you have color’s that are not very bright can be a good option.
You can make the cat any color you like. In this example most of it’s body will be yellow and the feet, tip of tail, snout, cheeks and ear fluff will be white. The eyes will be blue but you can also go with green or grey (as is common for cats).
Conclusion
Making a stylized cartoon drawing of a cat as the one in the example is not too difficult. Especially when you have a guide such as the one provided by this tutorial. Hopefully you’ve found the illustrations and accompanying instructions helpful.
For more tutorials on drawing animals in a simplified style also see the following:
- How to Draw a Dog Step by Step
- How to Draw a Fox Step by Step
- How to Draw an Owl Step by Step
- How to Draw a Dolphin Step by Step
- How to Draw a Goldfish Step by Step

")


