How to Draw a Dolphin Step by Step
This six step tutorials shows how to draw and color a cartoon dolphin. It includes simple and beginner friendly illustrations along with quick drawing tips.
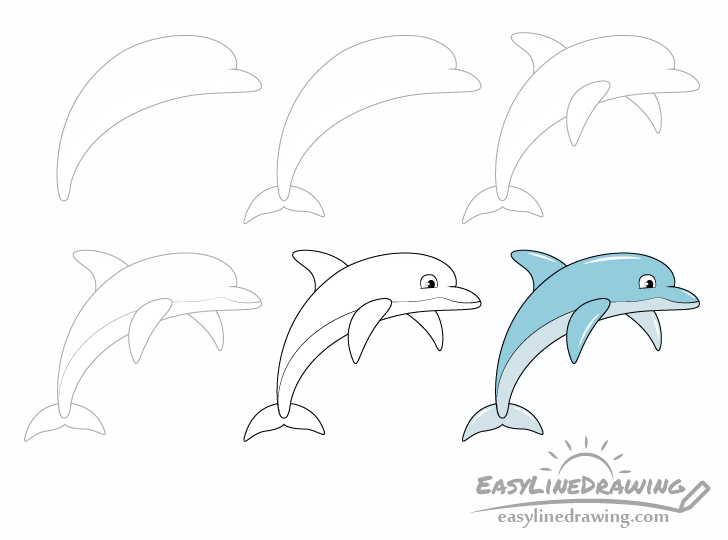
As the dolphin is drawn in a simplified and stylized way the tutorial is fairly easy. You can see a preview of the drawing stages included as examples in the image above.
It’s recommended that you use a pencil for the majority of the steps and make light lines that you can easily erase in case you need to do a correction. You can darken them in step five before coloring.
Step 1 – Draw the Body of the Dolphin
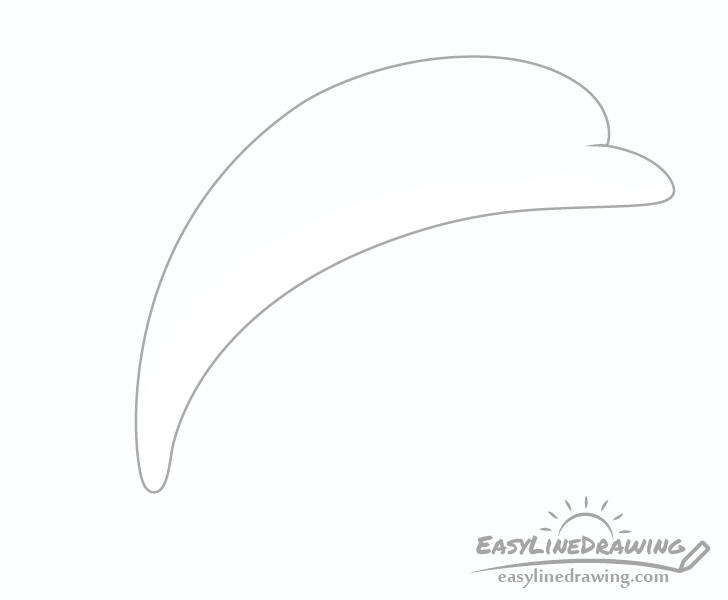
Start by drawing the outline shape of the dolphins body. It will be wider towards the head and narrower towards the tail. Next add the outline of the “nose” which in the case of a dolphin is called a rostrum. Draw this part slightly narrower towards the tip and wider as it goes into the head.
Step 2- Draw the Tail
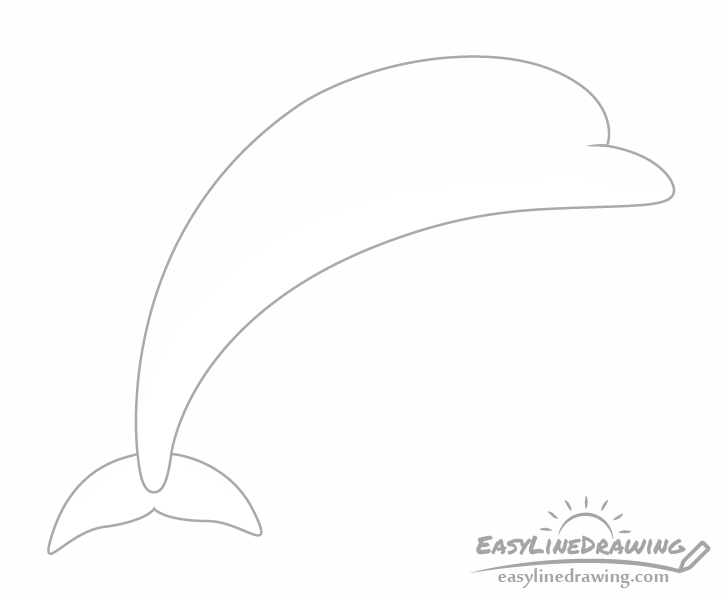
Draw the tail with the top portion close to a half circle in shape and the the bottom split into two wave like shapes.
Step 3 – Draw the Fin & Flippers
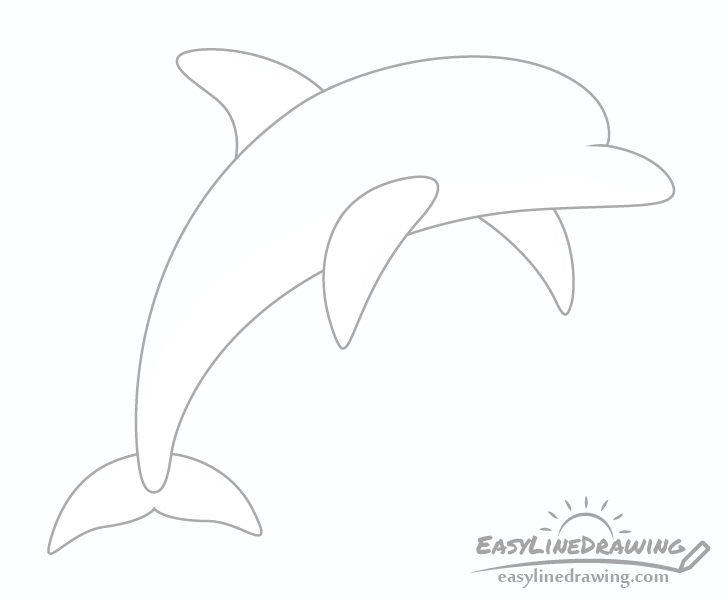
For this step add the fin and the flippers. Draw the fin (on top of the dolphin) curving backwards with a somewhat pointy (but rounded) tip and a much wider base. To show that the dolphin is in 3/4 view draw the foreground flipper (the one in the front) more to the left of the picture and the background flipper more to the right. Also draw them curving in the opposite directions. Again make the flippers wider towards the dolphins body and pointier towards their tips, similar to the fin.
Erase the parts of the body that will be overlapped/hidden by the foreground flipper.
Step 4 – Draw the Mouth & Split Between Top & Bottom
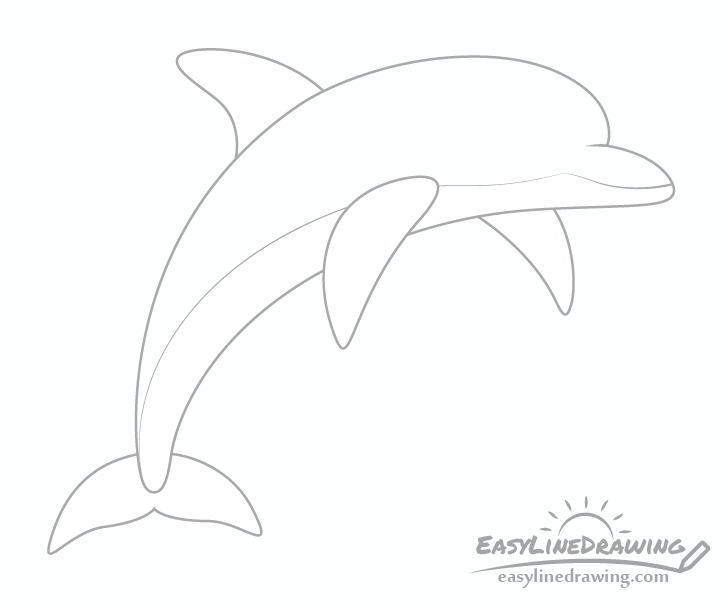
For this step first draw the dolphin’s mouth. You can show it with just one simple upwards curve so that it looks like a smile. Going from the mouth draw a line that defines the lighter/stomach area on the dolphins body (used later on when coloring).
Step 5 – Draw the Eye & Finish the Line Drawing
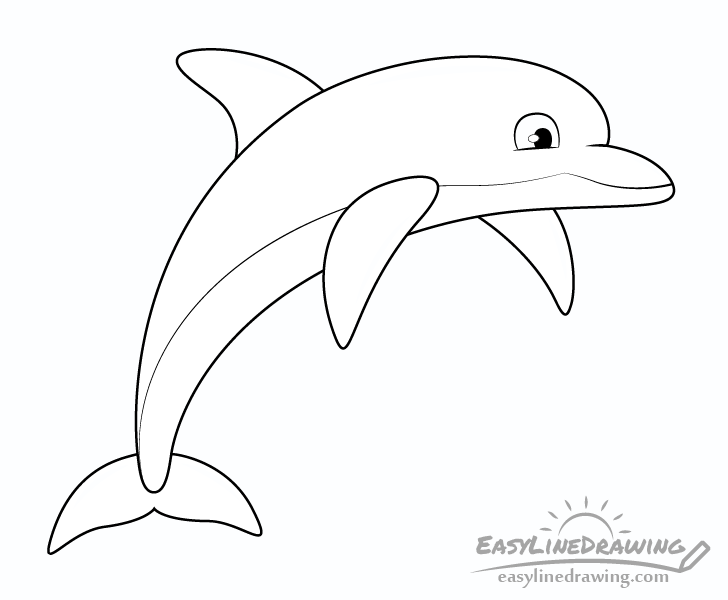
Start this final step of the line drawing by first adding the dolphins eye.
Make the bottom portion of the eye a very light curve aligned with the top part of the nose and a tiny distance away from it. As this is a cartoon dolphin draw the outer part of the eye fairly large and the iris/inner part much smaller. Also add a little oval shaped highlight that slightly overlaps the iris.
To finish the line drawing go over it with either darker pencil lines, back pen or marker. Also fill in the iris of the eye with black (or dark pencil shading) but leave highlight white.
Step 6 – Color the Dolphin
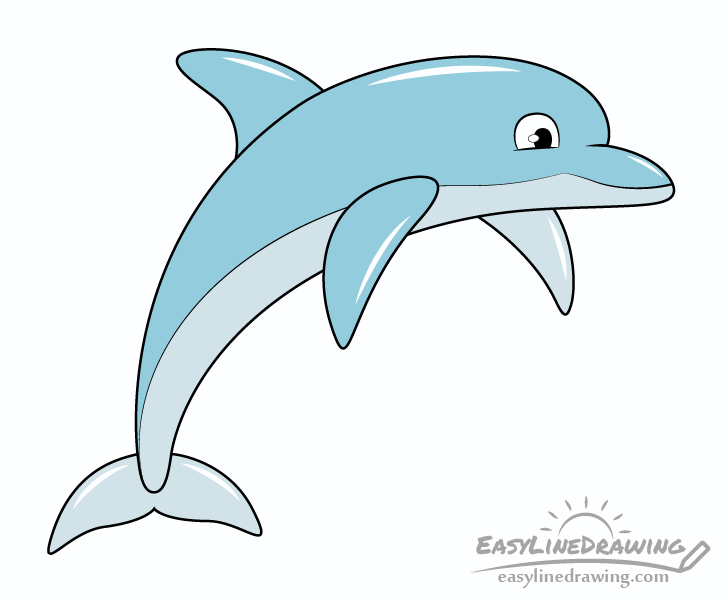
To color the dolphin use a darker blue for the upper part of its body and lighter blue for the bottom. Also leave a white highlight area inside each section of the body for the reflections. This will help show that the dolphin is wet and shiny. Larger body parts should generally have larger highlights.
You can use any medium you like for the coloring process (paints, markers, colored pencils, etc…). However, paints or pencils can be a better option if you want lighter colors as in the example.
Once done with this step you should be finished with the tutorial.
Conclusion
A dolphin is an interesting and fairly easy to draw animal, especially in a stylized/cartoon like style used in this tutorial. Hopefully you’ve found it fun and easy to follow along.
If you like simple step by step tutorials like this one you should also try some of these other drawing guides:
- How to Draw a Penguin Step by Step
- How to Draw a Swan Step by Step
- How to Draw a Dog Step by Step
- How to Draw a Cat Step by Step
- How to Draw a Fox Step by Step

")


