How to Draw a Dog Step by Step
This beginner friendly eight step tutorial shows how to draw a cartoon dog. It provides simple instructions with easy to follow drawing examples.

The dog drawing is quite simple and the tutorial in intended for beginners or anyone that just wants something fun and easy to draw.
To make it easier to correct mistakes it’s recommended that you use a pencil for most steps and draw light lines that you can easily erase. You can darken them later on (in step seven) before coloring.
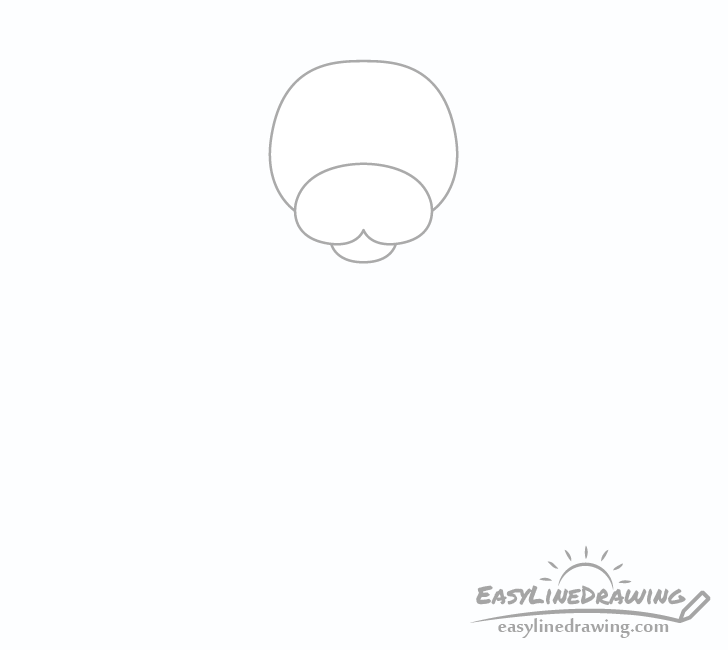
Step 1 – Draw the Dogs Snout

Start by drawing the dogs snout. Give it’s top part a split at the bottom and draw it’s bottom with just one curved line.
Try and position the snout in such a way that you have enough room for the head above it and plenty of room for the dogs body below.
Step 2 – Draw the Head
Draw the head starting from about the halfway point of the top part of the snout. Make it a little wider towards the bottom and narrower towards the top. Make the very top of the head almost flat.
Step 3 – Draw the Body & Front Legs
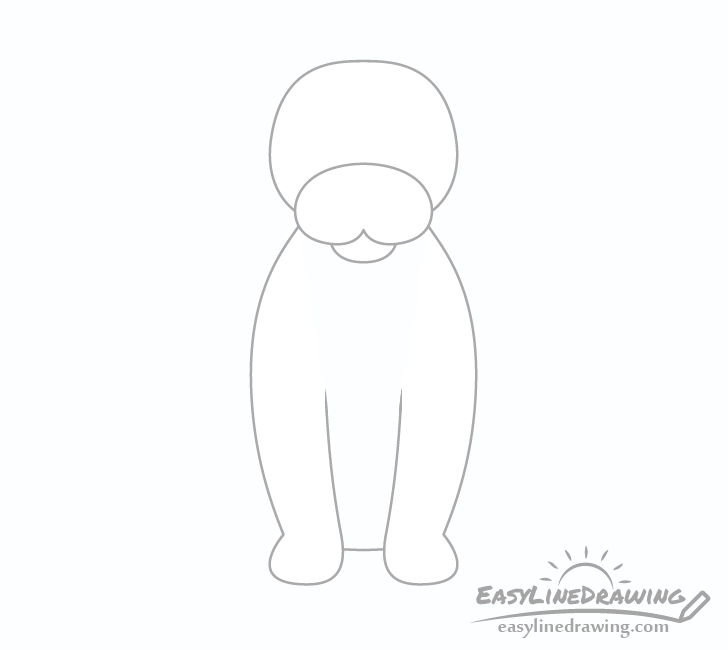
To add the dog’s legs and body draw two curved lines going down from the upper part of the snout. At the end of these outline the dog’s feet. Next draw two more curved lines for the inner part of the legs. Finally connect the legs near the part where they just start to transition into the feet to show the bottom of the dog’s body.
Step 4 – Draw the Back Legs
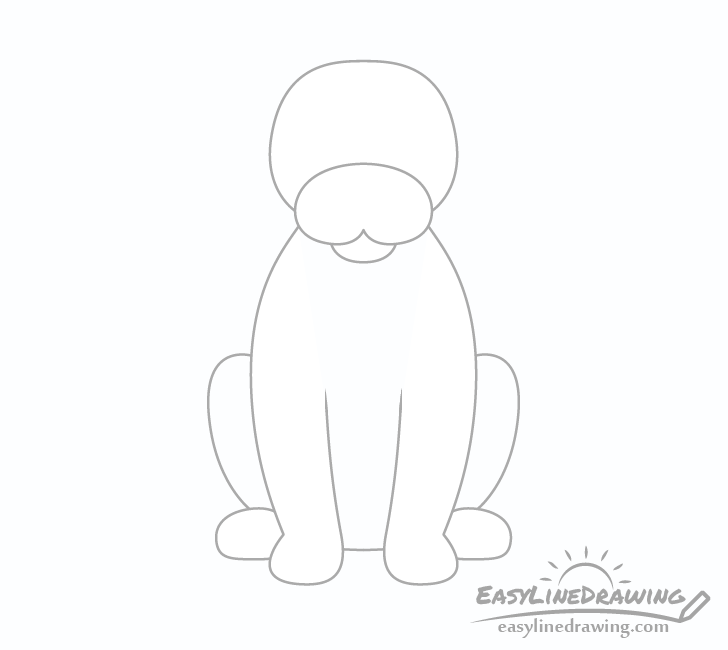
Now add the back legs sticking out from behind the front legs/body. Draw the upper part of each back leg with pretty much just one curved line. They should point slightly away from the dog as they go towards the top.
Next add the back feet as a sort of oval shape with a flattened bottom partially hidden behind the front legs.
Step 5 – Draw the Ears
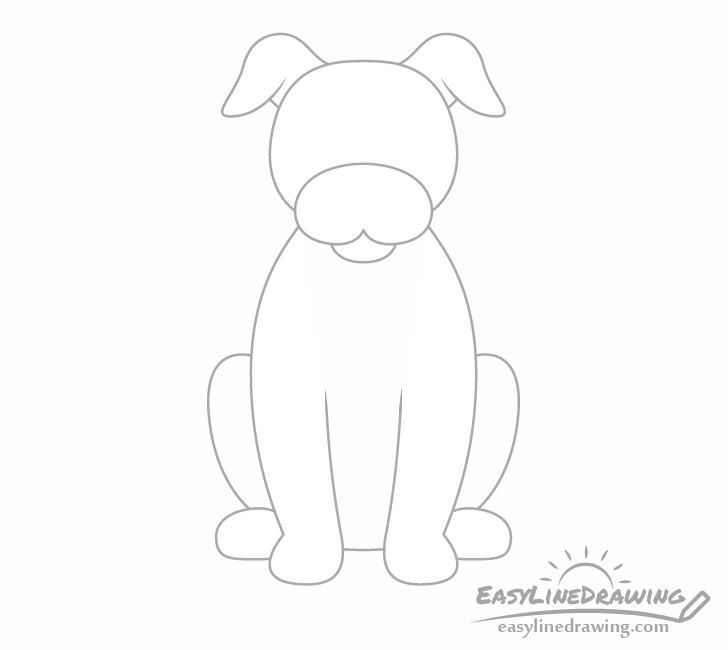
Draw the ears with a “^” like shape. Make them wide near their base (where they grow from the head) and narrow towards the tips.
Step 6 – Draw the Tail & Toes
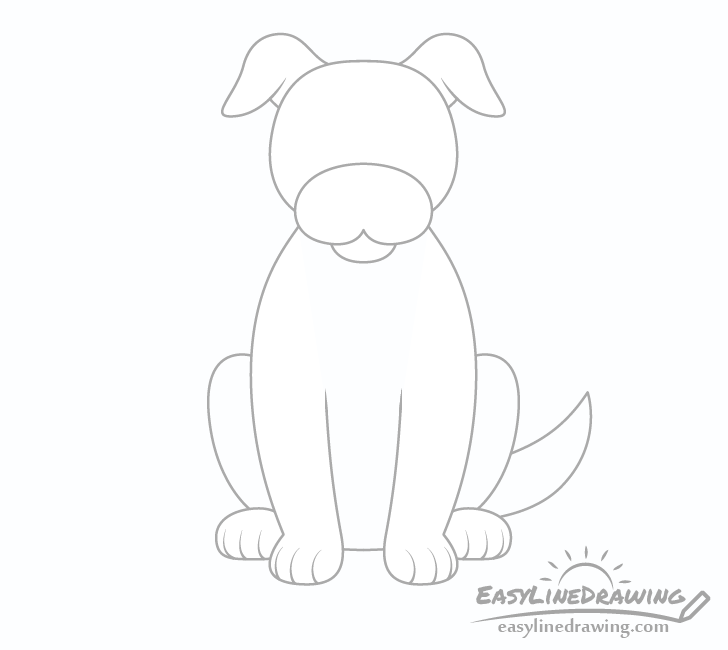
For this step draw the tail. You can define it with just two curved lines. Afterwards draw some splits (again curves) into the feet to show the individual toes.
Step 7 – Draw the Eyes, Nose & Finish the Line Drawing
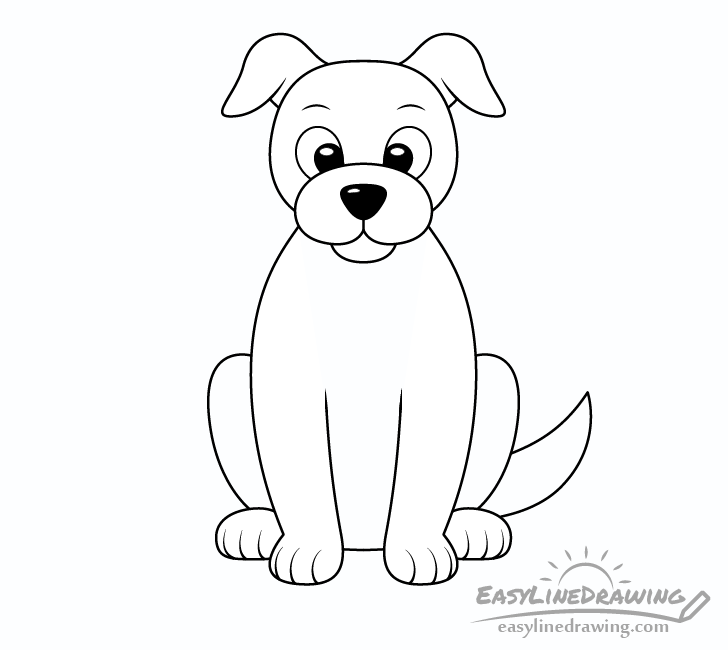
Finally draw the dogs face. Make the shape of the nose similar to a triangle with rounded corners. Draw the outer part of the eyes starting from the top of the snout with oval like shapes. Draw the inner part of the eyes (the irises) in pretty much the same way but smaller. Above the eyes add two small cures for the eyebrows.
Finally fill in the irises of the eyes and the nose with black (or pencil shading) but leave some white spots for the highlights.
Step 8 – Color the Dog
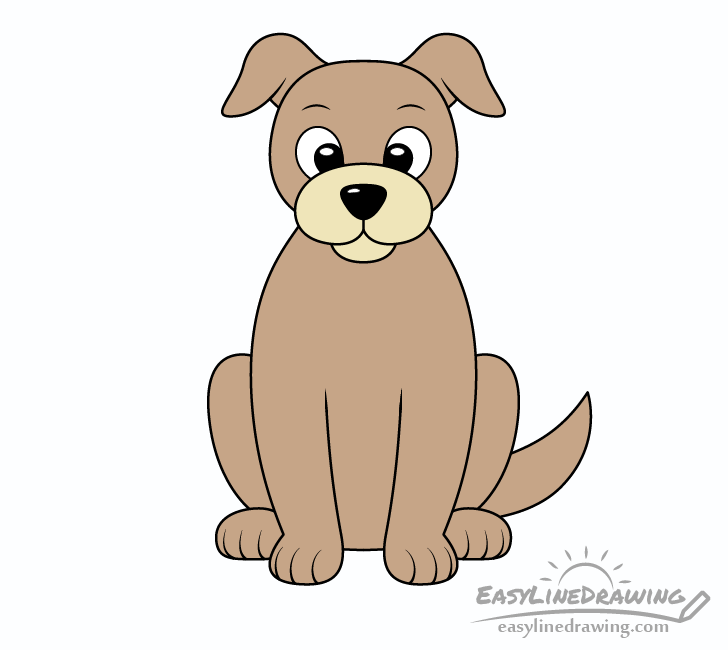
You can make the dog any color you like but for this example it will be brown for most of it’s body. However the snout will be yellow.
Colored pencils, paints and markers (or some mix of these) can all be good coloring options so just go with whatever you have handy.
Conclusion
The dog in the examples is drawn in a cartoon style without too many complex details to make it simple and beginner friend. The tutorial also provides a detailed breakdown of the drawing process to make it even easier to follow along. Hopefully you’ve found helpful and fun.
For more tutorials on drawing animals in a similar style also see:
- How to Draw a Cat Step by Step
- How to Draw a Fox Step by Step
- How to Draw an Owl Step by Step
- How to Draw a Dolphin Step by Step
For tutorials on drawing people (in a cartoon style) see:
- How to Draw a Boy Step by Step
- How to Draw a Girl Step by Step
- How to Draw Eye Expressions Step by Step

")


