How to Draw an Acorn Step by Step
This guide shows an easy way to draw an acorn. It consist of six illustrated steps that show how to outline the acorn’s shape and then how to color it.

Acorn’s have very distinct and easily recognizable shapes. The focus of this tutorial is on creating a simplified drawing of such a nut while still retaining it’s important characteristics.
Although the guide is put together in a way where ideally you do not need to do any erasing, it’s still recommended that you start the drawing in pencil in case you need to make a correction. You can optionally trace over your lines with a black marker once you have all parts of the acorn outlined.
As acorns grow on oak trees you may also want to see the following tutorial:
How to Draw an Oak Leaf Step by Step
Step 1 – Draw the First Half of the Acorn’s Nut
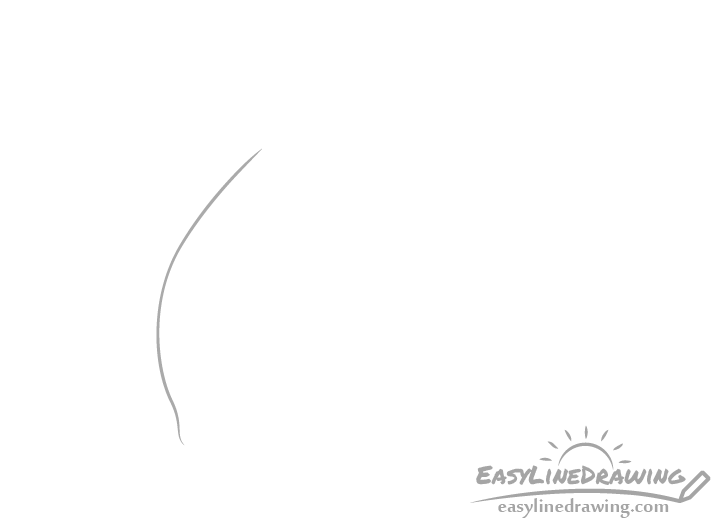
Start by drawing the first half of the acorn’s nut (the part that hangs down from the cap). Outline this as a smooth cure that transitions into a tiny bump (or half a bump) at the bottom.
Step 2 – Draw the Second Half of the Nut
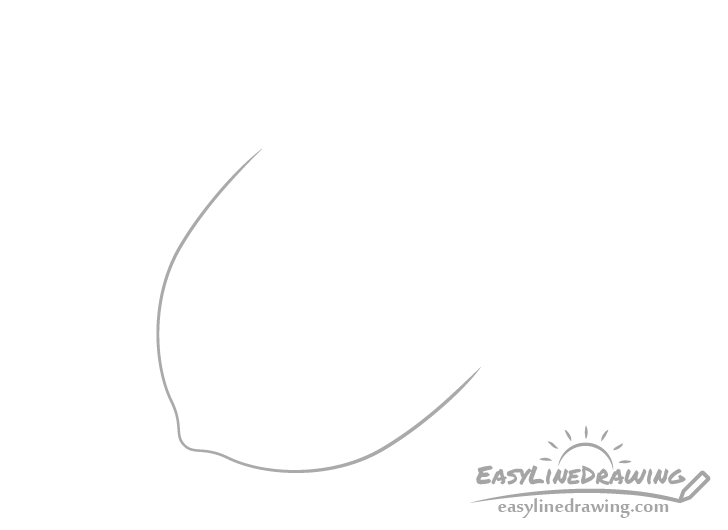
Outline the second half of the acorn’s nut to mirror the first half.
Once done check to make sure that the drawing is fairly symmetrical and that the overall outline is not too wide or too narrow.
You can optionally draw a straight line through the middle of the acorn to help you see if both of it’s halves are similar in width and shape. If you choose to do so, erase it after drawing the stem.
Step 3 – Draw a Cup-Shaped Cap
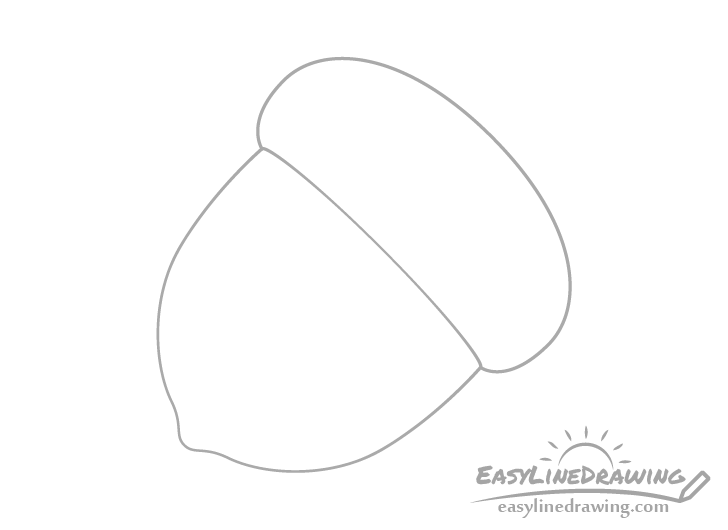
On top of the nut add the cap that gives the acorn it’s characteristic look. First, draw the line that defines the cap’s bottom. Make this just slightly curved. Next, draw draw a small curve to define one of the cap’s sides. Transition this into the large curve of it’s bottom followed by another smaller curve to define the opposite side.
Similar to the nut, try and make the cap fairly symmetrical.
Step 5 – Draw a Curved Stem
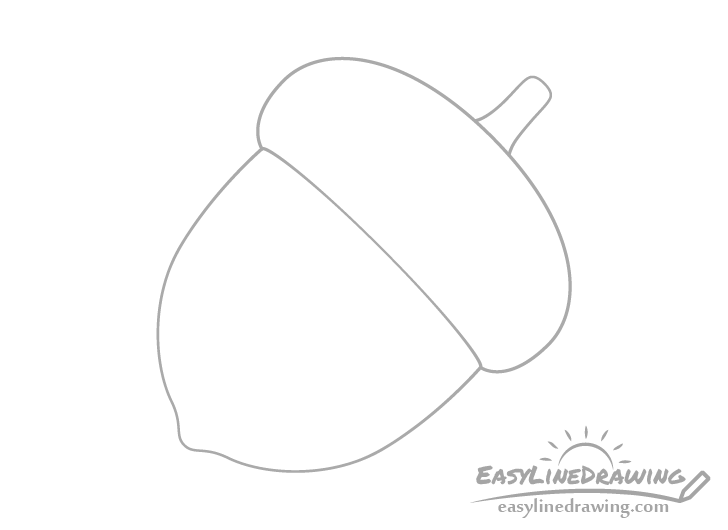
Going up from the cap draw the stem. Make it wider at the base, narrower around the middle and slightly wider again as it goes up (ending with a rounded top). Also,draw it’s overall shape to be curved.
Step 5 – Add a Hint of the Cap’s Texture
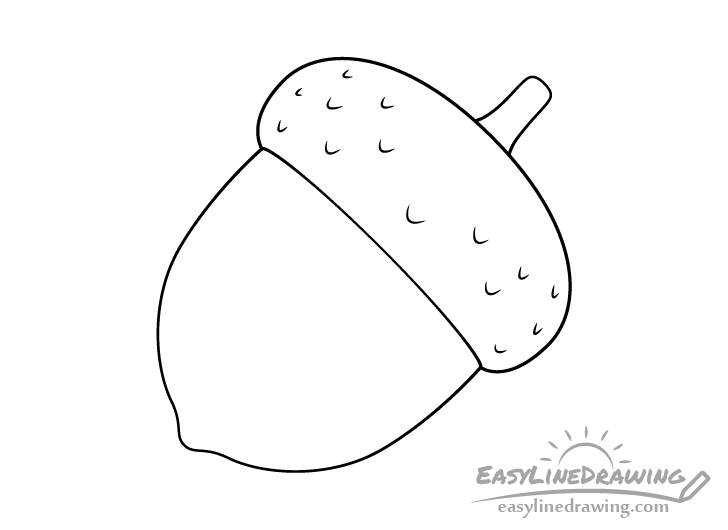
For the last part of the drawing add the texture of the acorn’s cap. Usually, this looks like little scallops or scales. However, to keep the drawing simply you only need to create a sense of the “scales” without drawing out every single one of them. Show these by adding small curves along the cap’s surface. Make the curves slightly larger/wider near the center and small and narrower around the top and sides. This will help give a sense of the cap’s curvature.
For drawing a fish with fish scales in a similar simplified style see:
How to Draw a Goldfish Step by Step
As mentioned at the start of the tutorial, once you have all parts of the acorn outlined you can trace over your drawing with a black marker. If you don’t happen to have one around you can also simply darken your lines by pressing harder on the pencil.
Step 6 – Color the Acorn
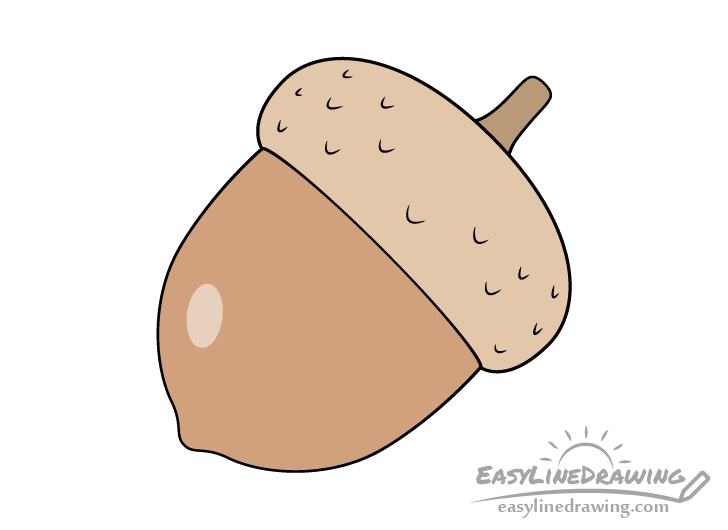
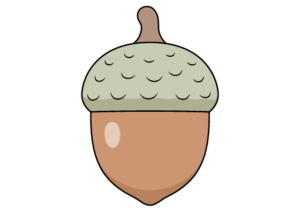
To color the acorn make the nut a light brown, the cap grey (with a bit of brown) and the stem brown (darker than the nut).
Prior to coloring the nut lightly outline an oval shaped reflection to one of it’s sides (as shown in the example). Leave this area white and go over it wish a lighter version of the orange brown afterwards. The reflection will help show that this part of the acorn has a smooth surface.
Once you’ve colored the drawing add a few simple shadows to make it look a little less flat. Add one along the bottom of the nut and the second along the bottom of the cap. As lightly tends to come from above, the shadows are usually cast downwards so this is a natural way to position them.
An easy way to apply all of the above colors and shadows is by simply using a brown and a regular pencil. Create the light brown of the nut by using a moderate amount of pressure on the pencil. Create the brown of the stem by applying a little more pressure and then also lightly go over the brown with a regular pencil. To get the brown grey of the cap shade it using a regular pencil and then light go over that with a brown one. Finally, add all of the shadows by darkening the appropriate areas using a regular pencil.
Conclusion – Drawing an Acorn Can be Easy
Acorns are nuts with fairly distinct and interesting shapes. They can be fun to draw, especially in the simplified way like the example shown in this guide.
Properly stylizing an object can speed up and simplify the drawing process while still keeping it easily recognizable.
As long as you properly show an acorn’s most defining characteristics, such as the shapes and texture of it’s main parts, you can leave out a lot of the smaller details and it will still look like an acorn.
If you enjoyed these kinds of tutorial with simple but effective drawing tips, you should also try the following:
- How to Draw a Hazelnut Step by Step
- How to Draw a Walnut Step by Step
- How to Draw a Peanut Step by Step
- How to Draw an Almond Step by Step
- How to Draw a Pistachio Step by Step


