How to Draw a Papaya Step by Step
This tutorial shows how to draw a papaya in four steps. It includes simple line drawing and detailed coloring examples with quick explanations.
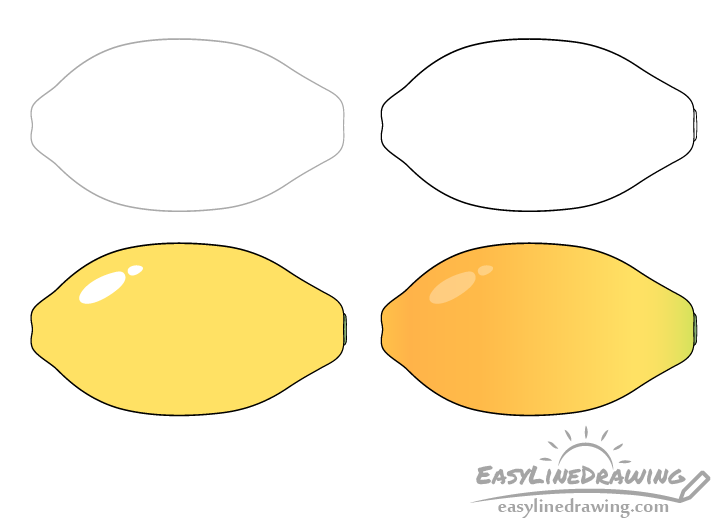
You can see a preview of the drawing step for the papaya in the example above. As the line drawing looks fairly plain what will make this tutorial more interesting is the coloring portion. Adding some nice gradient’s is what will make the papaya look nice. For this reason it’s recommended that you have some colored pencils ready before you start (yellow, orange and green).
Do the line drawing in pencil and then trace over it with a black pen or marker.
Step 1 – Draw an Outline of the Papaya
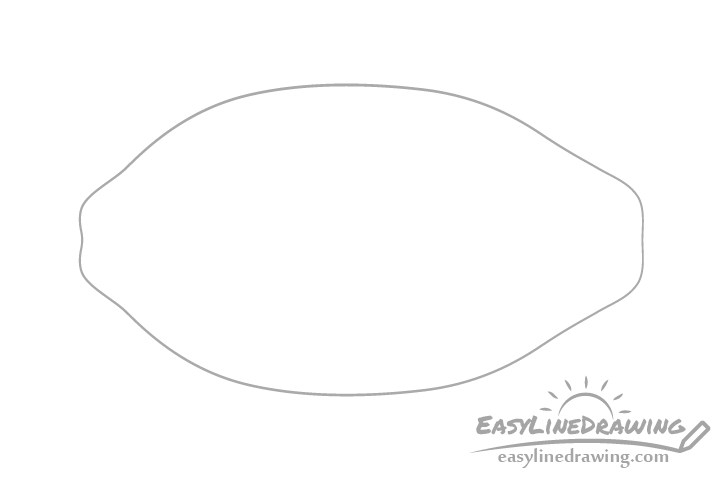
Begin with a simple outline of the papaya. It’s overall shape will be somewhat similar to an oval but with a large bump on one end (where it was attached to the tree) and a smaller one on the other.
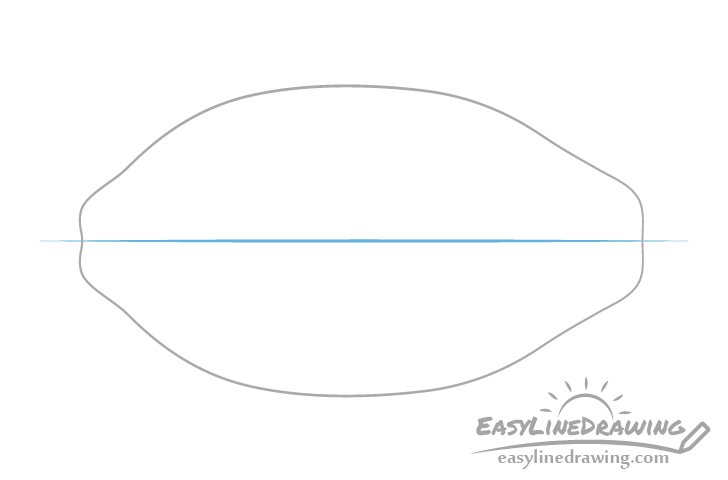
While the shape of the papaya does not need to perfectly symmetrical it may be useful to draw a straight horizontal line through it’s middle to help you see if both halves are relatively even in width.
Step 2 – Draw The Tip & Finish the Line Drawing
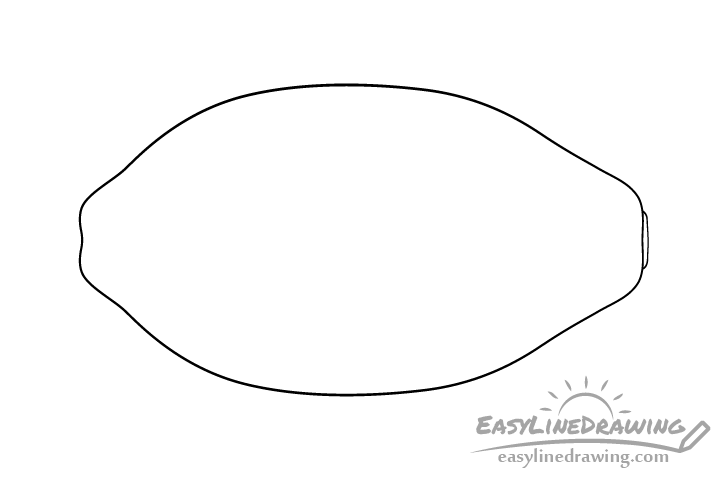
At the larger bump draw a bit of a “cap” like shape that is really just the left over of the stem that attached it to the tree.
Once you add this little bit you can trace over it and the outline of the papaya with a black pen/marker or darker pencil lines.
Step 3 – Color the Papaya

Before coloring the papaya outline a couple of highlights (light reflecting from it’s surface) as shown in the example below.
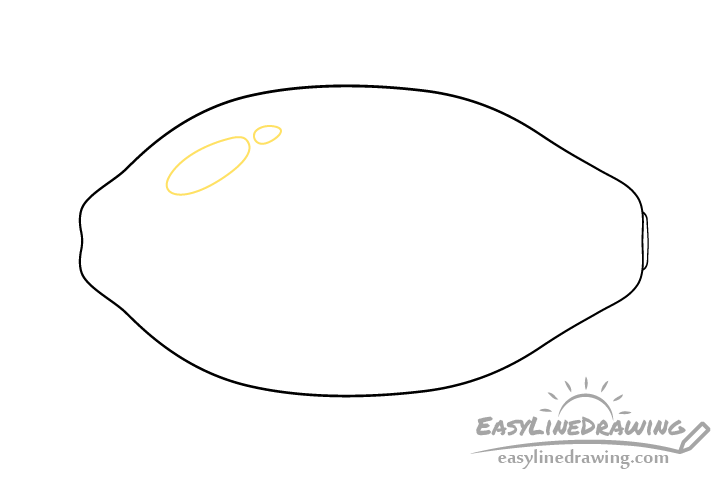
You can outline these in yellow so that the outlines blend into the color later on.
Afterwards color the papaya yellow as well and make the little “cap” green so that you have a drawing similar to the previous example.
Step 4 – Add Some Gradients
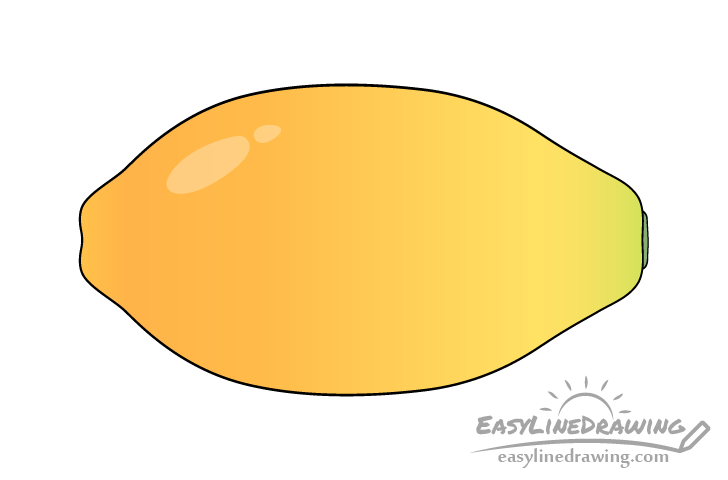
You will notice that just filled in with yellow the papaya looks fairly plain so to make it more interesting you can add some color gradients (going over top of the yellow).
As mentioned at the start of the tutorial the easiest way to do this is with colored pencils. Use an orange one an create a smooth color transition from light to dark orange going from one end of the papaya to the other (don’t go over the highlight yet, keep it white). Afterwards do a green gradient starting from the little green cap and going just across the bump on that side.
Once done adding the gradients you can lightly go over the highlights with orange as well so that they don’t look overly bright (as a papaya is not that reflective).
Conclusion
A simple line drawing of a papaya with just one color can look fairly plain. However, you can make it much nicer and more interesting by adding some basic color gradients (as was shown in the examples).
If you like drawing the papaya you may also want to try some of these other tutorials:
- How to Draw a Mango Step by Step
- How to Draw a Pineapple Step by Step
- How to Draw a Watermelon Slice Step by Step
- How to Draw a Water Drop Step by Step


