How to Draw an Orange Slice Step by Step
This tutorial shows how to draw an orange slice in six steps with a detailed breakdown of the drawing process and easy to follow instructions.
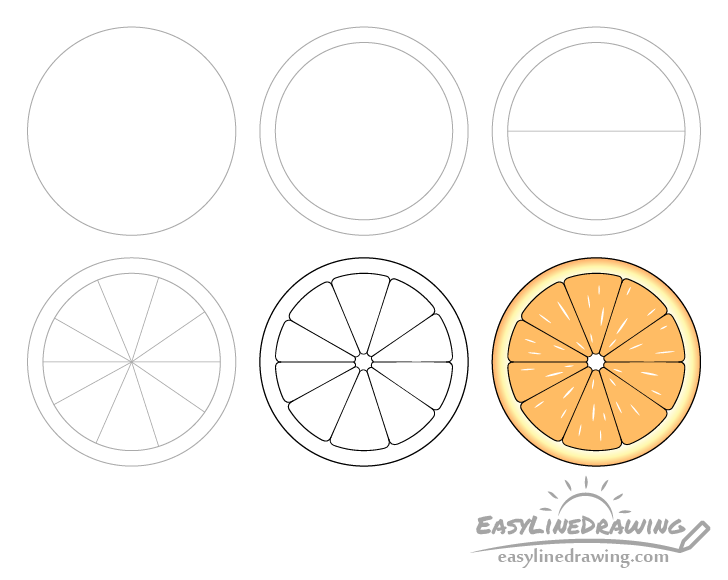
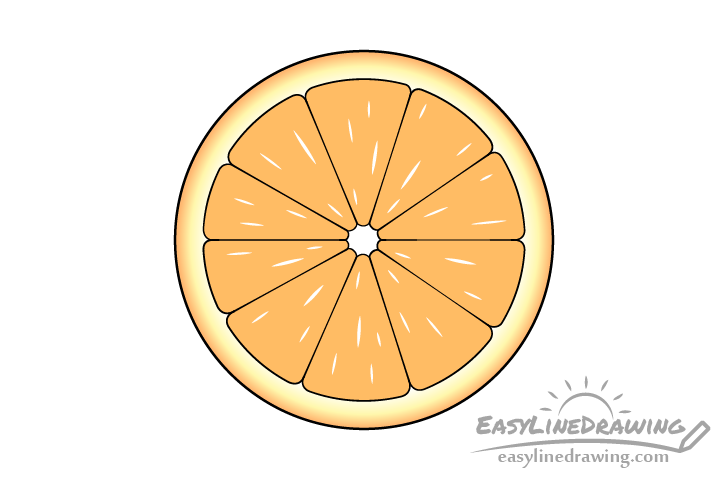
While the orange slice has a good amount of detail to it, it’s still drawn in a somewhat simplified manner to make the tutorial easier. You can see a preview of the different stages of the drawing in the image above.
Start the tutorial in pencil and make light lines as you will need to erase some small parts of the drawing in step five.
If you would like to draw a whole orange see the following:
How to Draw an Orange Step by Step
Step 1 – Draw the Outline of the Orange Slice
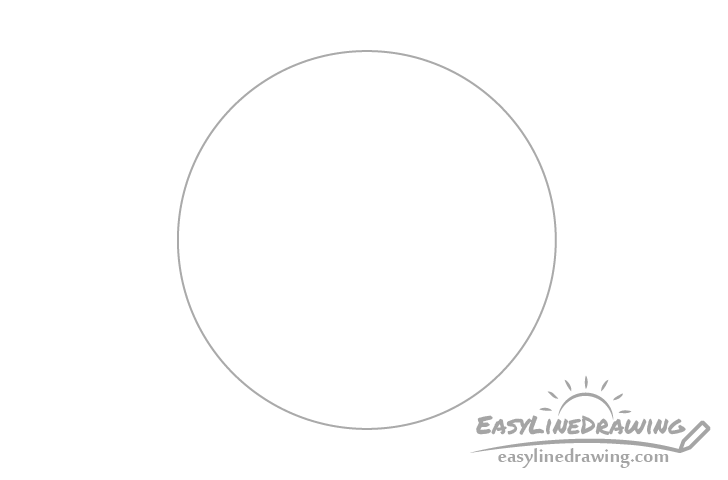
Begin the drawing with a simple circle. This will be the outline of the orange slice.
Step 2 – Draw the Outline of the Skin
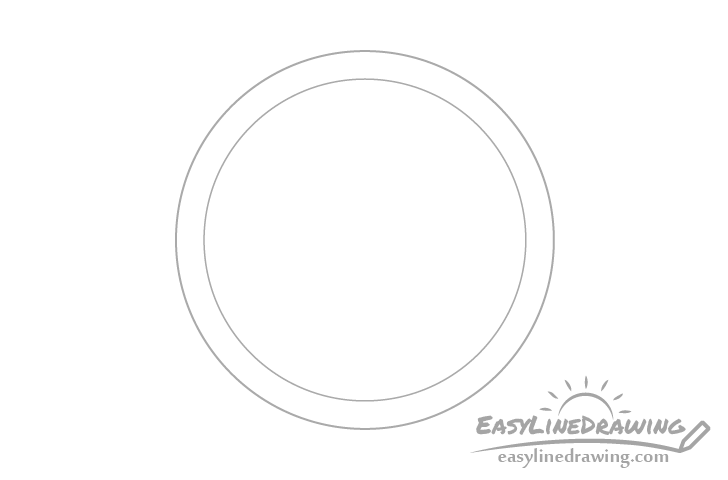
Inside the previous circle draw a second smaller one to set the thickness of the skin.
Step 3 – Split the Top & Bottom
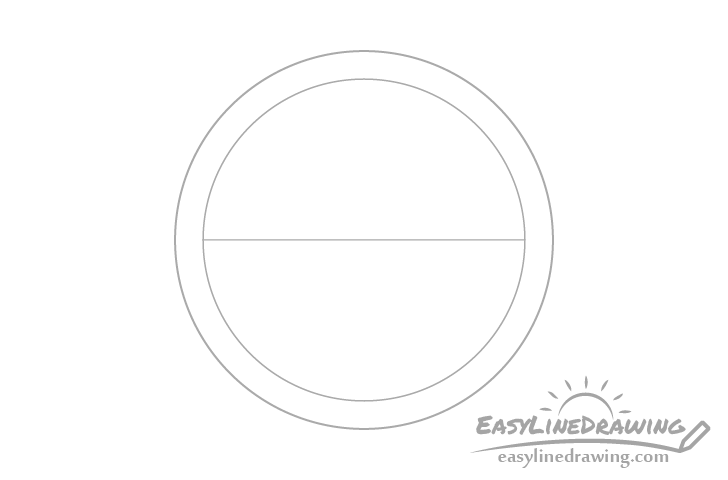
For this simple step draw a horizontal line through the inner circle to split it in half.
Step 4 – Draw the Segments
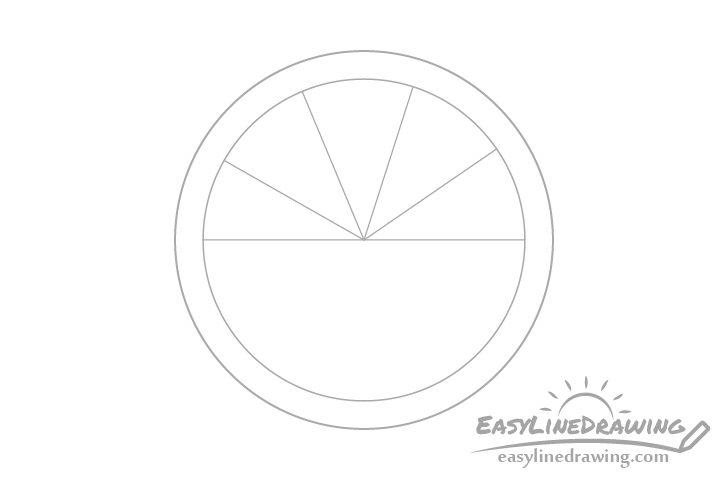
Divide both the top half (as shown above) and bottom half (as shown below) parts of the inner circle into five segments.
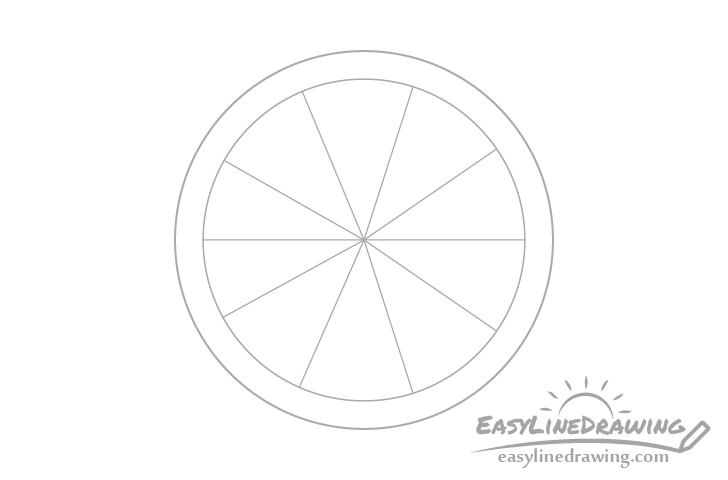
These do not need to be perfectly even as the segments of an orange generally aren’t. Some can be slightly smaller/thinner and other larger/thicker.
Step 5 – Round off the Segments & Finish the Line Drawing
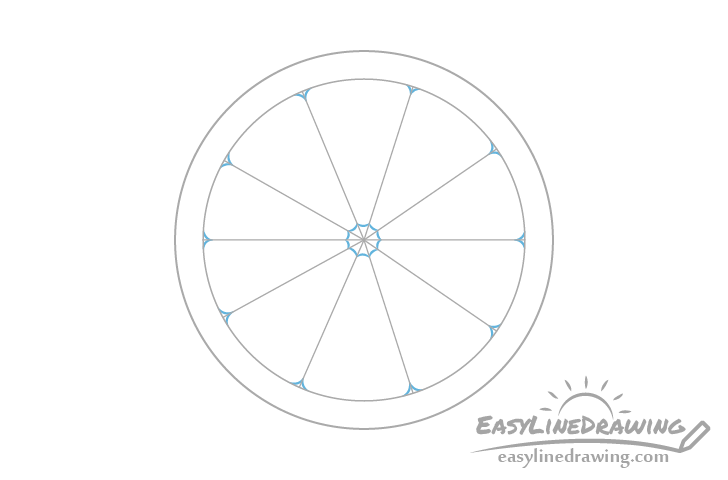
Round off the corners of the slices as shown in blue in the example above.
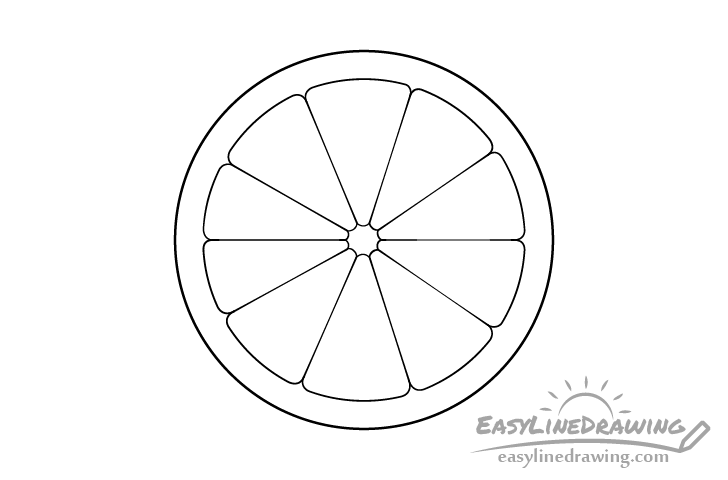
Once done you can clean up your drawing by erasing any of the extra lines so that it looks similar to the example above. Trace over it with a black pen, marker or darker pencils strokes once you are happy with how things look.
Step 6 – Color the Orange Slice
To color the orange you can use colored pencils.
Leave the little bit in the middle white, make the pulp orange and give the peel a transition from orange to yellow.
To make the pulp seem shiny and wet you can give it a bunch of long little highlights (light reflections) as shown in the example. Place these somewhat randomly throughout each of the sections but try and keep them all pointing towards the middle, sort of like rays emanating from the sun. Simply leave these spots white and color around them.
Conclusion
The orange slice in this tutorial is drawn in a somewhat simplified manner. However, it still has enough detail to it so that the drawing does not seem too plain or boring.
If you’ve gotten this far hopefully you’ve found it easy enough to follow along.
For more similar tutorials also try some of the following:


")


