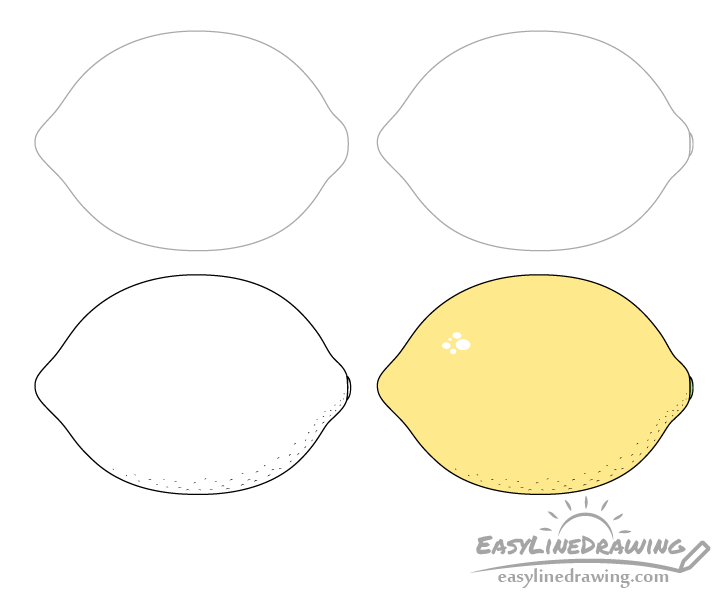
How to Draw a Lemon Step by Step
This easy tutorial shows how to draw a lemon in just four steps. It includes simple example and quick drawing instructions.
Though drawing a lemon is very easy start the tutorial in pencil just in case you make a mistake and need to erase something.
You may also want to have a black pen/marker to darken your lines afterwards as well as a yellow/green pencils, markers or paints to add color.
Step 1 – Draw the Outline of the Lemon
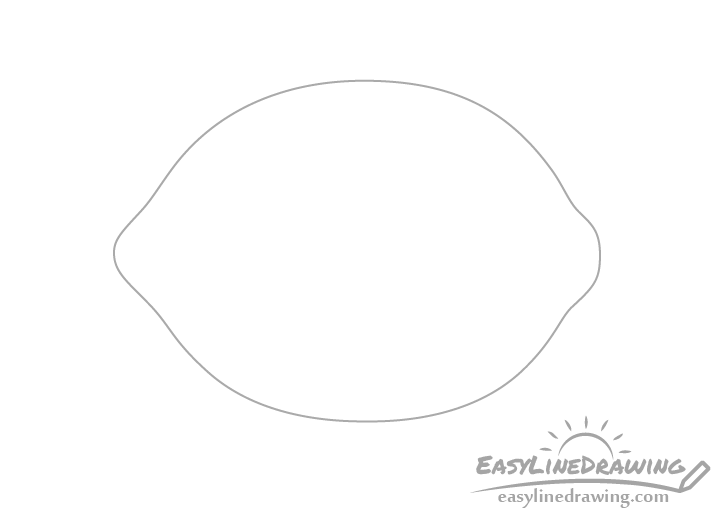
Start the drawing by outlining the main shape of the lemon. This should be similar to an oval with two bumps that stick out on both ends.
Make one of the bumps (on the left in this case) slightly smaller and pointier than the other.
Step 2 – Draw the Tip
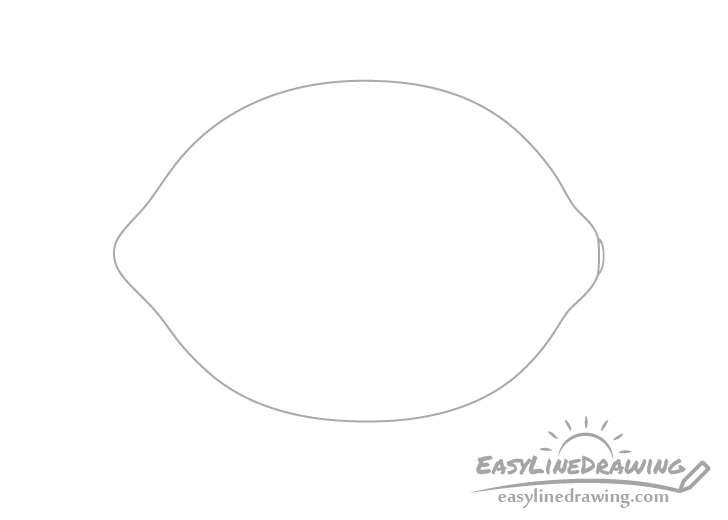
Add the little tip/cap that lemons tend to have on the flatter bump. You can pretty much draw this as just one small curve.
Step 3 – Add the Bumps & Finish the Line Drawing
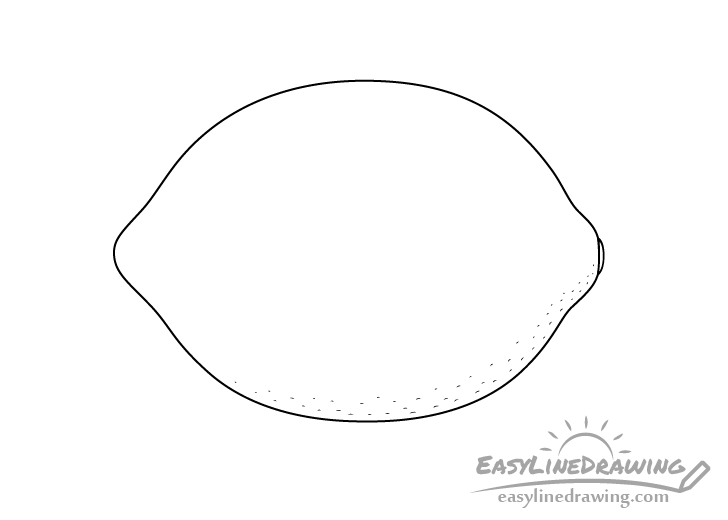
At this stage you can trace over your lines with a black pen or maker (or darken them with the pencil). Next you can add some hints of the lemon’s bumpy texture. In this case we will do it by adding some tiny lines that are sort of “sprinkled” around it’s bottom/right side.
If you are feeling confident you can draw these tiny lines in marker/black pen. If you are worried about making a mistake do it in pencil first and then go over them with the pen/marker afterwards.
Though it may be a little hard to see each line is actually a tiny curve. Try and make these these a bit larger towards the outline of the lemon and smaller towards the center.
Step 4 – Color the Lemon
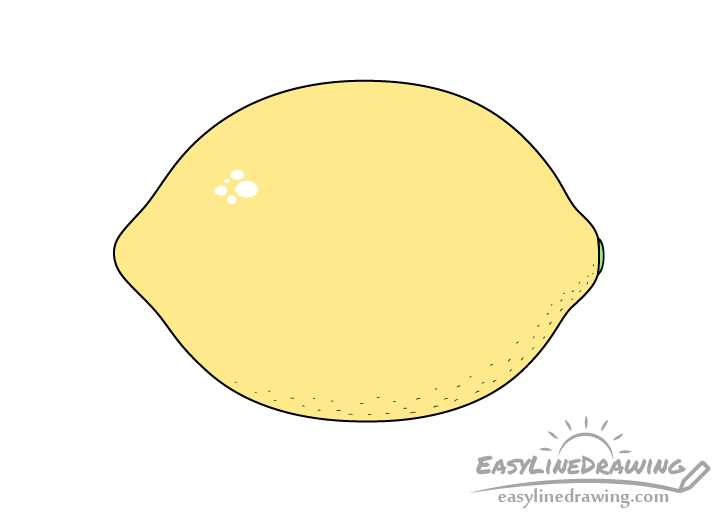
You can color the lemon yellow using whatever method you like (markers, paints, colored pencils, etc…). You can also make it green if you want to have a lime instead.
When coloring a small cluster of white spots to show for the reflection. In this case tehse will be a group of randomly sized ovals to it’s upper left (opposite the bumps). The reason you want to break them into smaller parts like that is to again show that a lemon has a bumpy texture which breaks up the reflected light. Alternatively if you have a white correction pen you can color the entire lemon yellow and use it to add the white over top of it.
Make the tiny cap on the lemon’s flatter bump a light green.
Conclusion
This is a simple drawing of a lemon that can be done very quickly. However using a few tricks described above you can show that the lemon has a shiny and bumpy texture without having to do more complex shading.
For other similar tutorials also see:
- How to Draw an Orange Step by Step
- How to Draw a Mango Step by Step
- How to Draw a Banana Step by Step
- How to Draw a Kiwi Step by Step
- How to Draw an Orange Slice Step by Step

")


