How to Draw a Key Step by Step
This six step tutorial shows how to draw a key, a fairly common looking one that could be used for things such as opening doors or locks.
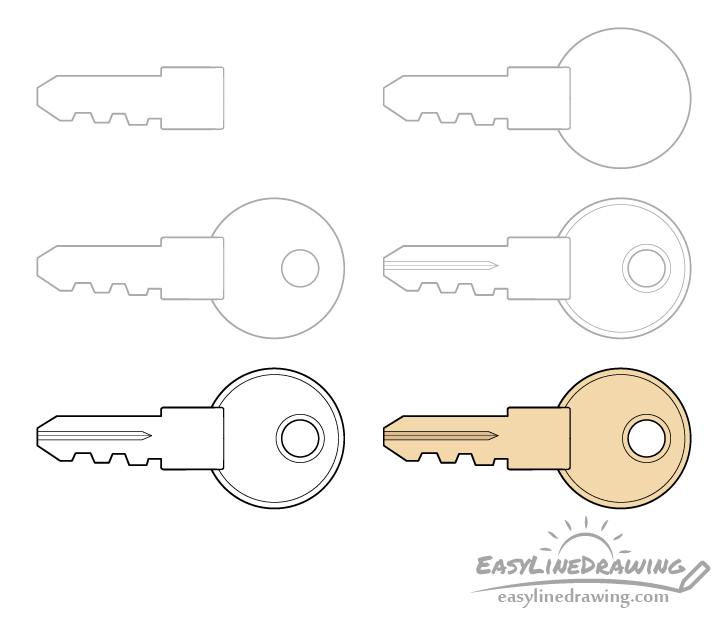
In this example the key will have a fairly simple design with parts that keys generally tend to have. You can see a preview of it’s drawing stages in the image above.
Start the tutorial in pencil and make light lines that are easy to erase in case you need to make a correction.. You can darken them later on with a black pen or marker.
For drawing a lock see:
How to Draw a Lock Step by Step
Step 1 – Draw the Blade & Shoulders of the Key
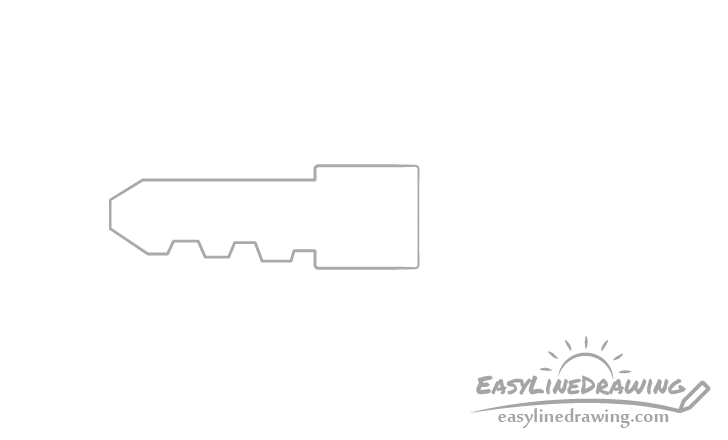
Begin by drawing the blade and shoulders of the key. The blade is the part that will actually go into the keyhole while the shoulders are the two sides of the wider part that comes after.
Draw the blade narrower towards the tip with a flat top and a bottom that has a series of bump/teeth like shapes running along it. Try and make the these slightly random in size.
Draw the par that is the shoulders as pretty much a rectangle (open on the end where it transitions into the blade).
Step 2 – Draw the Head
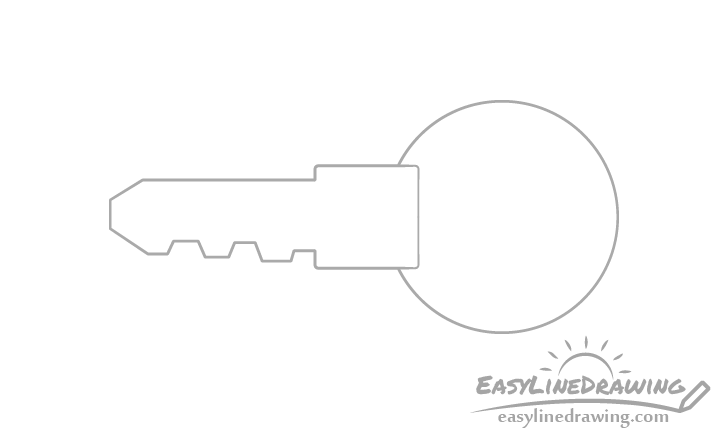
Onto the shoulders area add the key head. Make this round and draw it in a way where the shoulders slightly cut into it’s shape.
Step 3 – Draw the Hole
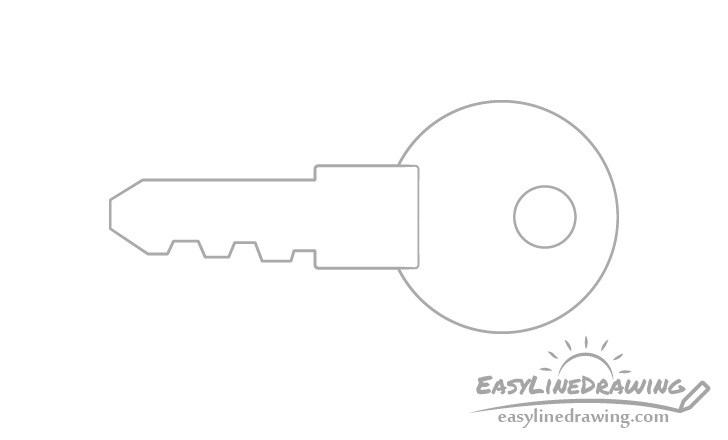
Towards the back of the key head draw a little round hole.
Step 4 – Draw the Rims
Create a pair of rim with one going around the hole and one going around the edges of the key head.
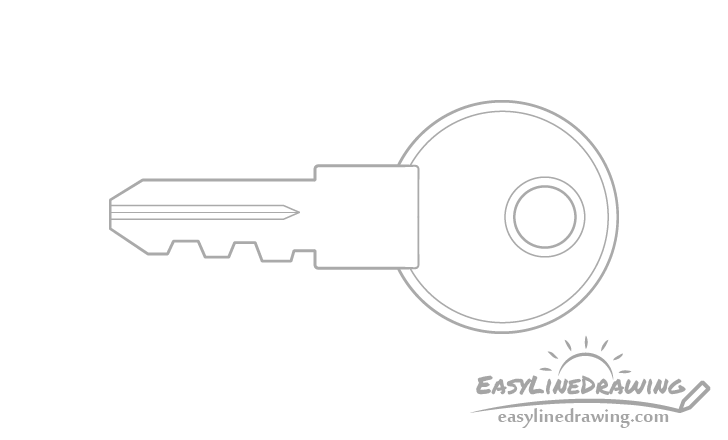
Step 5 – Draw the Indent & Finish the Line Drawing
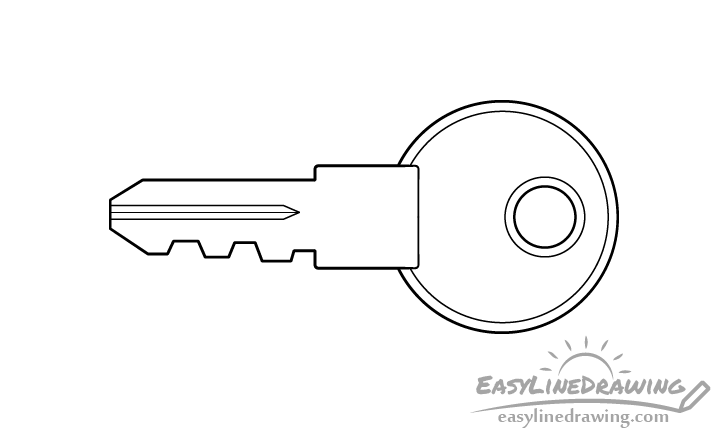
Inside the outline of the blade draw a little indent as shown in the example. Afterwards make sure that you are happy with the way your drawing looks thus far. Make any tweaks if necessary and then trace over it with a black pen or marker. If you don’t happen to have one of those you can simply darken your lines with the pencil.
Step 6 – Color the Key
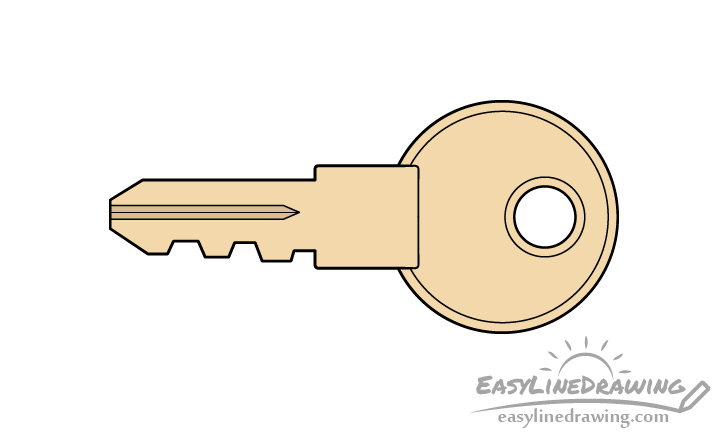
To color the key you can make it a yellow/brown color to give it a bit of a metallic gold or copper like look. You can also make the little indent area drawn in the previous step slightly darker than the rest of it’s surface.
A good way to get a similar color is by either mixing paints or with two layers of colored pencils (first going with yellow and then with a bit of brown over top).
Conclusion
This tutorial shows how to draw a key that can be used for things such as doors and traditional locks. The examples provide a fairly simple design that is common for such items and should be fairly easy to draw.
If you’ve found this tutorial helpful you might also like some of the following:
- How to Draw a USB Stick Step by Step
- How to Draw a Battery Step by Step
- How to Draw a Pen Step by Step
- How to Draw a Screwdriver Step by Step
- How to Draw a Picture Frame Step by Step

")


