How to Draw a Pretzel Step by Step
This short tutorial show how to draw a pretzel in four steps with easy line drawing and coloring examples along with quick tips.
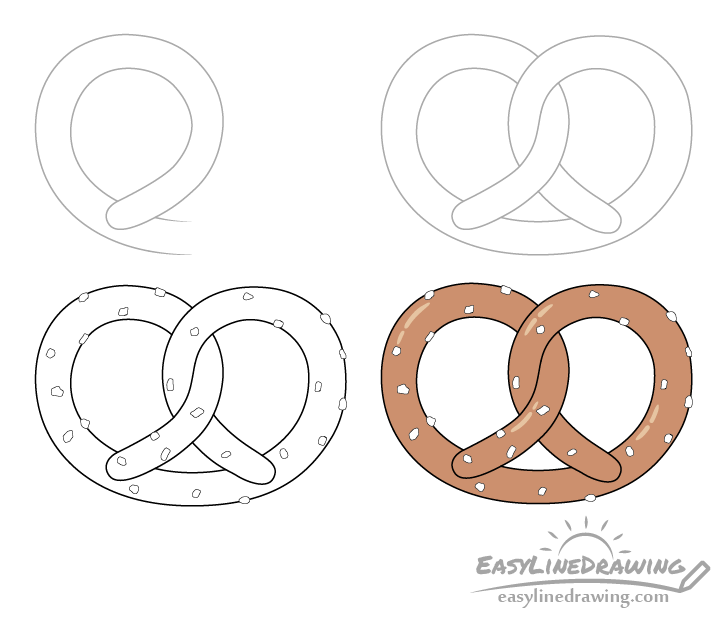
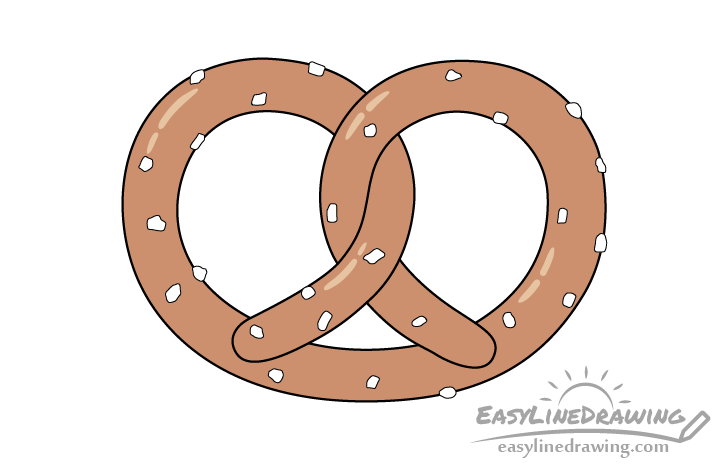
The different drawing steps for the pretzel are shown in the example above. Overall the tutorial is fairly simple and can be easy enough even for beginners.
Begin the drawing in pencil and make light lines as you will need to erase certain parts in step two. You can darken your lines later on by tracing over them with a black pen or marker.
Step 1 – Draw the First Half of the Pretzel
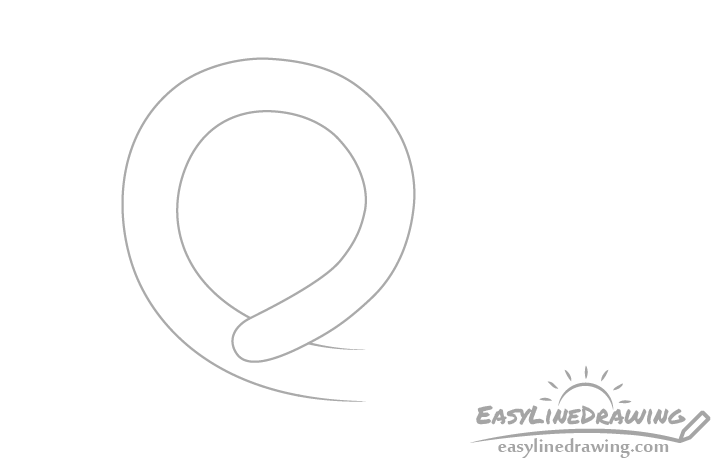
Start by drawing the first half of the pretzel. It should look pretty much like a loop.
You don’t have to be overly precise in how you draw it. The width and shape can be somewhat uneven.
Step 2 – Draw the Second Half
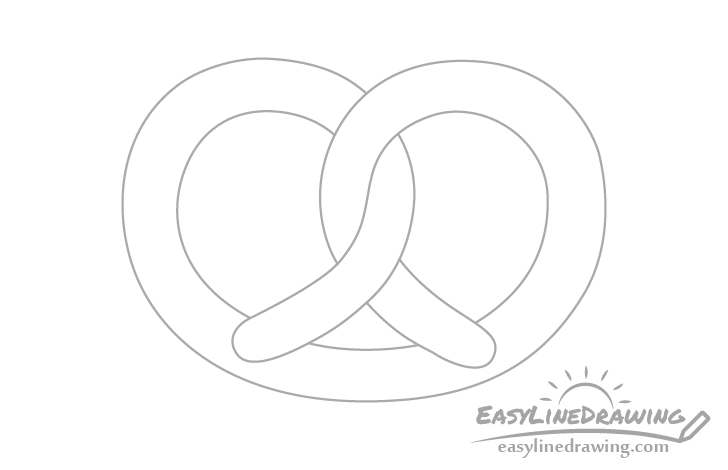
Overlapping the first part add the second half of the pretzel. While it should mirror the first half it again does not need to be perfect. However, do try and keep the two half relatively close in size and width so that you have a nice looking pretzel.
As the two ends weave together you will want to erase the parts where they overlap so that in the end you have a drawing similar to the example above.
Step 3 – Add the Salt & Finish the Line Drawing
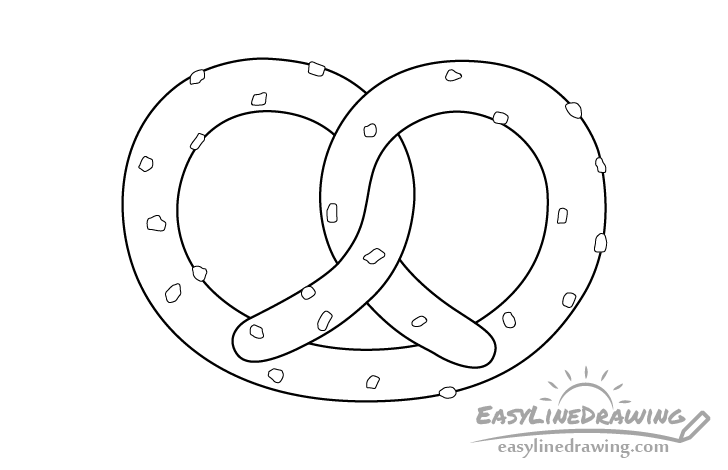
Add some little salt chunks sprinkled throughout the pretzel. Try and make these fairly random in shape and slightly different in size. Also try and distribute them somewhat evenly throughout the pretzel.
Afterwards you can trace over your lines with a black pen/marker or darken them with the pencil. You can also optionally make the outline of the pretzel thicker than that of the little salt bits.
Step 4 – Color the Pretzel
An easy way to color the pretzel is to just use a brown pencil. You can leave the salt white.
You can also add a few highlight (light reflections) to show that the pretzel has a smooth surface. Draw these as show in the example above, curving along the sides with some little breaks in them.
To make sure you don’t accidentally color over the highlights you can lightly outline them with a regular or brown pencil beforehand. This way you wont need to erase the outlines as they will eventually just blend into the color.
To finish the pretzel drawing also go over the highlights with a lighter brown so that they don’t stand out too much as usually pretzels are not that reflective.
Conclusion
Generally pretzels are not perfect in shape but to have a nicer looking drawing try and make it somewhat symmetrical. Once you get the pretzel itself outlined adding the smaller details and coloring is very simple.
If you enjoyed this tutorial you may also like the following:
- How to Draw a Muffin Step by Step
- How to Draw a Croissant Step by Step
- How to Draw a Bagel Step by Step

")


