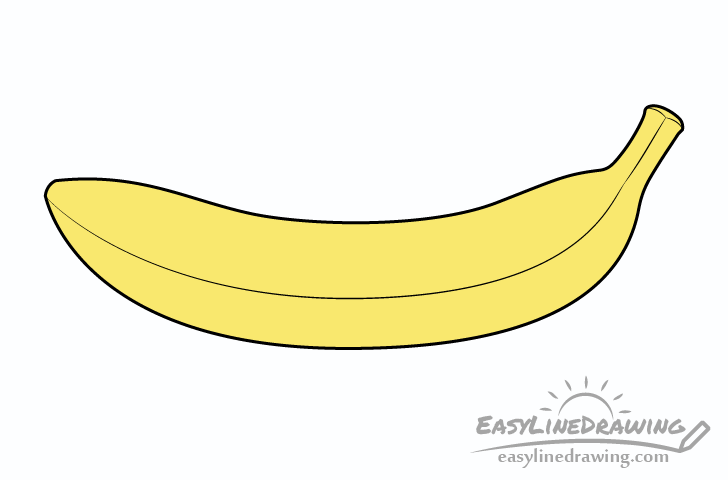
How to Draw a Banana Step by Step
This tutorial shows how to draw a banana with step by step illustrated examples. The banana in the example is half-peeled.

In this case the banana is somewhat simplified but still fairly realistic. Drawing in such a style can make it easier for beginners yet still allows you to create nice looking artwork. You can see the main stages for tutorial it in the image above. However, there are some additional examples provided below to make things even simpler.
Although the guide is put together in a way where you don’t necessarily have to do any erasing, it’s still recommended that you start the banana drawing in pencil. Use light lines until you have all of it’s parts outlined. You can darken them before coloring. All you need to color the banana is just a yellow pencil.
Step 1 – Draw the Front Strips of the Banana Peel

Star by outlining the front strips of the banana peel as shown in the example. Draw them on an angle curving in opposite directions. Make their outlines narrower at the base and wider as they go out. They should then again get narrower near their ends and have slightly rounded tips.
Step 2 – Draw the Unpeeled Part of the Banana

Curving downwards from the strips draw the unpeeled part of the banana. In this example it’s roughly half of it’s overall length. make the outline slightly wider near the peels and then fairly even in width until the rounded bottom. Leave the very end of the outline open for the “tail”.
Step 3 – Draw the Peeled Part of the Banana

Draw the peeled end of the banana (the part that you eat) going up from the strips. Make it slightly narrower than the bottom unpeeled portion but otherwise draw it so that it looks like a continuation of the same curve.
Step 4 – Draw the “Tail” of the Banana

Draw the little “tail” called the pedicel that attaches the banana to the bunch. Make it’s overall shape slightly curved and make it wider as it goes out (towards the bottom of the drawing).
Step 5 – Draw the Background Strips of the Peel

Draw another pair of the peel strips in the background (behind the other parts of the banana). Make these smaller to show that they are farther back. Similar to the previous pair draw them curving in opposite directions.
Step 6 – Draw the Edges of the Peel

In this example only one of the edges of the banana peel is visible. Draw it running along the skin and through the “tail”. Add a few breaks in this line so that the edge looks softer and the drawing less like a wire frame.

Afterwards, also draw the edges of each peel to show their thickness. To show that the inside of the peels has a somewhat uneven texture, again, define these with broken up lines.
Step 7 – Draw the Texture of the Banana’s Peeled Portion

Draw the texture along the peeled part of the banana starting with several long lines that run through it’s entire visible length. Yet again, have some breaks in these similar to those drawn for the edges.

Next, draw a series of short lines curves that run across the peeled portion and basically “wrap” around it’s curvature.
Step 8 – Color the Banana
As mentioned at the start of this guide, an easy way to color the banana is to simply use a yellow pencil. Make the outer part of the peel a darker yellow (press harder on the pencil) and the peeled part of the banana and inside of the peel a lighter yellow (apply less pressure to the pencil).
Step 9 – Shade the Banana
To finish the banana drawing give it some very basic shading. This will help add a little bit of depth to the artwork making it appear less flat. You can add the shading by simply going over the yellow with a regular pencil.
Shadows are cast opposite the light source. In this example the drawing is done as though the light is coming from (roughly) the upper left. To show this, darken the following areas of the drawing:
- Under side of the unpeeled portion of the banana (including the tail)
- Under side of the background peel strip on the left
- The sides of the peel strips (below their edges)
Once you’ve added the shadows, you should have a finished drawing of a half-peeled banana.
Conclusion
This tutorial shows how to create a fairly simple but also a fairly realistic looking drawing of a banana. This is done by first drawing a shape characteristic to such a fruit and then by giving it some simple color and basic shading to help make the drawing stand.
In this example the banana is half-peeled but you can also drawn an unpeeled banana in a similar manner.
For more simple step by step art guides, also be sure to try the following:

")


